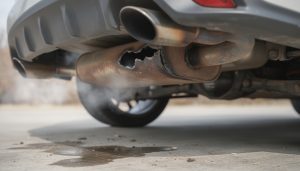
If you’ve noticed unusual noises or a loss of power in your front wheel drive car when accelerating or turning, the culprit might be your front drive axle. This crucial component, often called the constant velocity (CV) axle, transfers power from the transmission to your wheels, enabling smooth and consistent rotation. Over time, wear, grease loss, or physical damage can compromise its function, making replacement necessary. Tackling this repair yourself can save money and deepen your practical understanding of vehicle maintenance, provided you follow a detailed and careful process.
Key Takeaways :
- The front drive axle transmits power to the wheels and its failure impacts vehicle traction and acceleration.
- Common symptoms include clicking noises during turns and pronounced vibration or power loss.
- Axle replacement requires specialized tools like a socket set, jack stands, and experience with mechanical systems.
- Removal and reinstallation involve detaching the axle nut, wheel, brake caliper, and other connecting components in sequence.
- Proper torque and inspection of surrounding parts during reassembly are critical to safe and efficient operation.
Identifying Symptoms and Causes of Front Drive Axle Failure
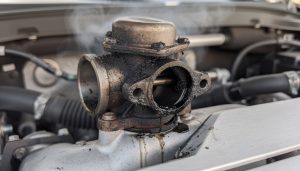
Your car’s front axle plays a vital role in translating engine power into wheel movement. When it begins to fail, several symptoms become evident. Most notably, you might hear a clicking or popping noise when turning tightly—this usually means the outer CV joint is worn or damaged. Additionally, if you notice vibrations or a significant drop in power and traction when accelerating, the axle might be overheating or suffering from excessive wear due to lost lubrication.
This failure often results from damaged CV boots that lose grease and allow contaminants to enter, accelerating joint wear. Exposure to water, dust, or road debris can exacerbate this. Another cause could be physical damage from road hazards or age-related metal fatigue that leads to cracks or splits in the axle shaft.
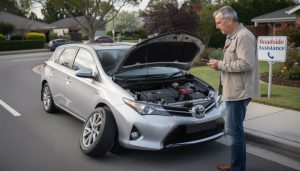
Understanding these signs early is essential. Driving extensively on a failing axle can cause complete joint failure, risking sudden loss of power to the wheels and potentially leading to costly repairs. Consumer reports and user forums frequently discuss these issues for various models, such as Suzuki Vitara problems related to drivetrain elements.
Symptoms Checklist:
- Clicking or clunking noises during turns
- Vibrations felt through the steering wheel or floor when accelerating
- Grease leaks near the wheel hub or along the axle shaft
- Reduced traction or uneven power delivery to the wheels
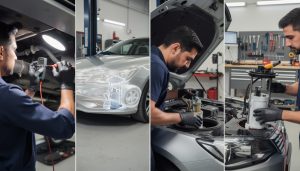
Tools and Preparations Required for Front Drive Axle Replacement
Replacing a front drive axle demands a specific set of tools and safety precautions. Before commencing, prepare the following essentials:
- Car jack and jack stands: For lifting and securely supporting the vehicle.
- Socket set including axle nut socket: To remove stubborn nuts and bolts.
- Breaker bar: To provide extra leverage for loosening tight fasteners.
- Flat-headed screwdrivers and spanner set: Useful for prying off components and unbolting fittings.
- Wrench: Assists with removing brake caliper bolts or suspension fasteners.
- Rope or cord: To safely suspend the brake caliper without stressing brake lines.
Working space should be clean and well-lit, with the ground leveled to prevent instability. Gathering all tools beforehand prevents interruptions mid-repair. Always ensure wheel chocks are positioned on the rear wheels to prevent movement once the car is jacked up. Consult your vehicle’s manual for torque specifications and safety reminders.
💡 Expert Tip: Never loosen the axle nut with the car raised. Keep the wheel in contact with the ground to use the weight as resistance and reduce the risk of damaging the wheel studs.
Step-by-Step Guide to Removing the Front Drive Axle
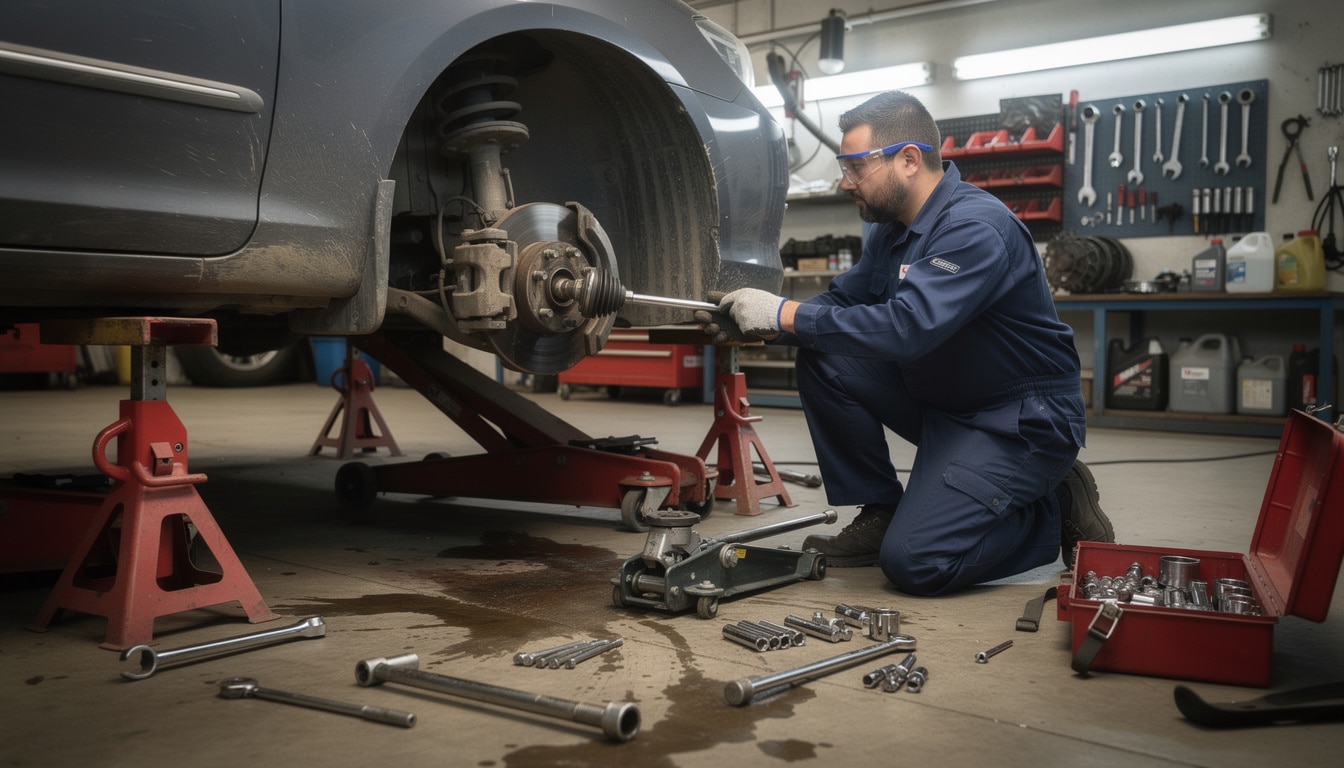
Start the axle replacement by loosening the central axle nut. This nut is typically protected by a hubcap or a split pin; remove these carefully. Using the correct socket and breaker bar while the wheel is on the ground helps overcome the high torque securing this nut.
After the axle nut is removed, safely jack up the car and place jack stands under designated vehicle points. Remove the wheel, exposing the brake assembly and suspension components.
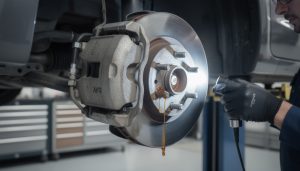
Next, detach the brake caliper by unbolting the mounting bracket and suspending the caliper with rope or cord to avoid tension on the brake lines. Removing the rotor may be necessary depending on your vehicle design.
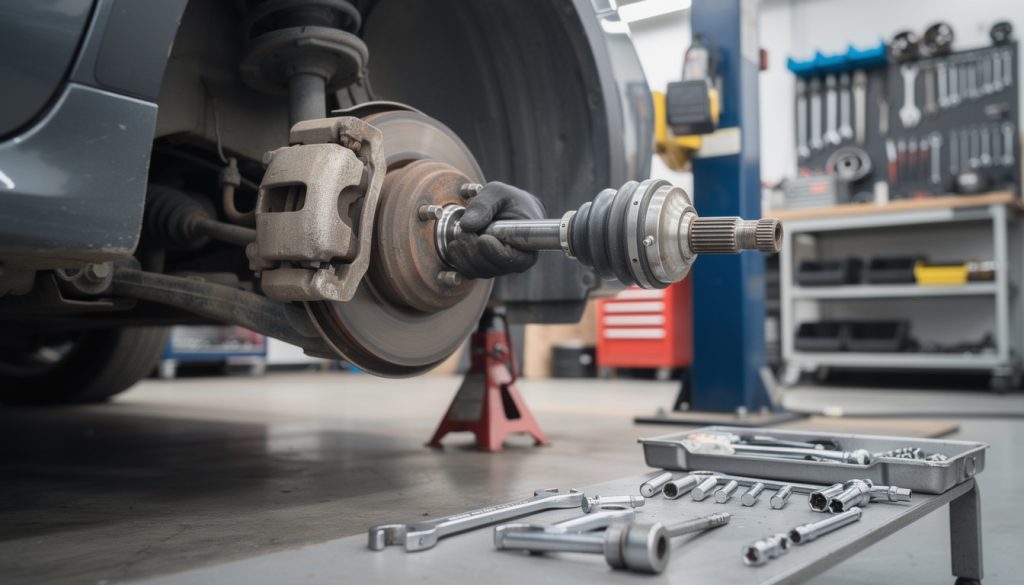
Unbolt the outer tie rod from the steering knuckle, sometimes secured with a cotter pin. Removing the tie rod frees up space to maneuver the axle. Then, unfasten the bolts from the hub assembly. This allows the hub and axle shaft to separate.
Finally, use a strong flat-headed screwdriver to pry the inner CV joint out of the transmission housing. Be ready for a small amount of transmission fluid leakage and protect your work area accordingly.
This process requires patience and precision to prevent damage to wheel bearings and seals. If resistance is too high, verify that all mounting bolts are fully removed and that the axle nut is fully loosened.
Installing the New Front Drive Axle Correctly
With the old axle removed, prepare the new axle by comparing lengths and joint condition to ensure an exact match. Lubricate the splines lightly to ease insertion into the transmission axle housing.
Insert the new axle firmly into the CV joint housing until it clips in place. You should feel or hear a soft click confirming engagement. Guide the axle through the hub assembly, aligning holes for the hub bolts.
Reassemble the hub by tightening the bolts to manufacturer torque specs. Reattach the outer tie rod to the steering knuckle and secure any retaining pins. Mount the brake rotor and reattach the caliper securely without straining the brake lines.
Before placing the wheel back on, clean the hub mounting surface to avoid vibrations. Once the wheel is on, hand-tighten the lug nuts, lower the vehicle from the jack stands, and then torque the axle nut and wheel nuts properly. This ensures safe operation and prevents premature wear or loosening during driving.
Testing the vehicle straight away for unusual noises, vibrations, or handling issues will confirm a successful axle replacement. If problems persist, inspect the brake system and suspension components, as they can be affected during the process. Driving carefully during the first test drives helps settle the new axle and components.

Maintenance Tips and Common Pitfalls After Axle Replacement
After replacing the front drive axle, ongoing vehicle maintenance plays an essential role in prolonging the part’s longevity and overall safety. First, consistently check the CV boots for cracks or leaks, as these are often the initial signs of axle wear. Maintaining proper grease levels inside the CV joints prevents excessive friction and wear.
Wheel alignment and suspension inspections should follow any axle replacement to ensure the vehicle handles correctly and no unintended stress is applied to the new axle. Remember, ignoring signs like uneven tire wear or steering looseness may indicate further issues needing prompt attention.
Some owners overlook the importance of torque accuracy; under or over-tightening the axle nut can lead to bearing damage or wheel vibration. Using a calibrated torque wrench is non-negotiable in professional automotive repair practices.
Risks include brake caliper damage if the caliper isn’t supported properly during axle removal, possibly affecting braking performance. If you want to learn more about brake issues that might affect your vehicle after axle jobs, check detailed diagnostics on faulty brake caliper signs.
Common Mistakes to Avoid:
- Failing to loosen the axle nut before lifting the car
- Neglecting to support the brake caliper during disassembly
- Improper torque on axle nuts or wheel lug nuts
- Not inspecting hub bearings and suspension parts during reassembly
- Forgetting to check for grease leaks at CV boots after installation
Replacement Cost and Realistic Expectations
On average, front drive axle replacement costs can range between $300 and $600 for parts and professional labor, depending on vehicle make, model, and location. Performing a DIY replacement cuts the labor costs significantly, but requires a good skill set and quality tools.
Quality after-market axles can be affordable but watch for longevity differences versus OEM standards. Investing in a reliable part avoids frequent replacements and associated expenses.

| Step | Tools Needed | Estimated Time | Critical Tips |
|---|---|---|---|
| Loosen axle nut | Breaker bar, socket set | 15 min | With wheel on ground to prevent stud damage |
| Remove wheel and caliper | Jack, jack stands, wrench, rope | 30 min | Support caliper to avoid brake line tension |
| Detach tie rod and hub bolts | Spanner, socket set | 30 min | Check for cotter pins and remove first |
| Extract old axle | Flat screwdriver, pan for fluid | 20 min | Protect workspace from fluid leaks |
| Install new axle and reassemble | Torque wrench, socket set | 45 min | Torque nuts to manufacturer specs |
Replacing a front drive axle is a demanding but rewarding automotive repair, combining mechanical skills and precision. This thorough guide empowers you with knowledge, making the task feasible and boosting your confidence in handling your vehicle’s drivetrain system.
What are the signs that my front drive axle needs replacement?
You might hear clicking noises when turning, experience vibrations during acceleration, notice grease leaks near wheels, or feel a drop in traction and power.
Can I replace the front drive axle myself without professional tools?
Basic hand tools can suffice, but having a proper socket set, breaker bar, and torque wrench is crucial for safety and effectiveness.
How long does front drive axle replacement typically take?
Depending on your skill level and tools, the procedure can take between 2 to 4 hours for a DIY enthusiast.
What are the risks of driving with a worn front drive axle?
Driving on a failing axle risks joint failure resulting in loss of power transmission, possible further damage to transmission or suspension, and unsafe handling.
Where can I find affordable and reliable replacement axles?
Look for parts meeting OEM standards at reputable automotive parts suppliers and user-reviewed vendors online. Quality is essential to avoid frequent replacements.