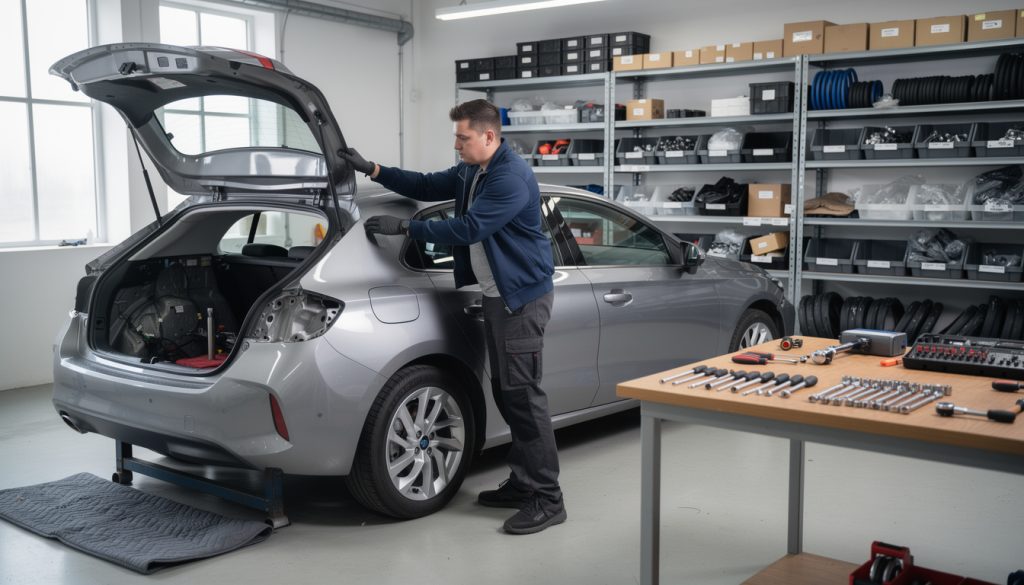
Damaged car boot lids are a common annoyance many drivers face after minor accidents or daily wear. Whether it’s a dent from reversing too close to a wall or rust eating away the seals, knowing how to replace a car boot lid yourself can save you both time and money. This step-by-step guide covers everything from tools needed to electrical wiring, ensuring your DIY car repair goes smoothly and safely.
Key Takeaways:
- Replacing a car boot lid requires basic tools like spanners and screwdrivers along with an assistant to handle the heavy part.
- Hydraulic cylinders need careful removal before detaching the boot lid itself.
- Electrical wiring inside some boot lids must be disconnected and reconnected properly to maintain light functions.
- Lubricating hinges during installation helps achieve a smooth opening and closing motion.
- Checking the boot lid operation after installation avoids future locking or alignment issues.
Preparing for a Car Boot Lid Replacement: Tools, Parts, and Safety
Before you attempt to replace a car boot lid, preparation is key to avoid headaches during the process. Most boot lids vary depending on the make and model, with some incorporating electrical components like rear lights, wiring, and central locking systems. As a result, you’ll need to gather not only the physical replacement part but also the right tools and safety equipment.
Start by ensuring you have a replacement boot lid that fits your car’s specific model. OEM parts are recommended for perfect alignment and quality, especially if your boot lid integrates lights or wiring. However, aftermarket options can be a cost-effective alternative if you confirm compatibility.
Essential tools include:
- Spanners (various sizes for bolts)
- Socket set for hinge bolts
- Screwdrivers (flat-head and Phillips)
- Protective gloves and eye protection
Due to the weight of a boot lid, always have someone assist you. Boot lids can unexpectedly swing or slip during removal or installation, posing a risk of injury or damage. Also, park your vehicle on a level surface and use wheel chocks to prevent movement while working on the rear.
Inspect your current boot lid visually. Look for dents, rust at the edges, damaged seals, or broken wiring. Often, rust can spread beneath the surface, weakening the structural integrity. Any lubricants or seal conditioners applied in regular maintenance may need refreshing post-replacement.
By organizing in advance and wearing protective gear, you’ll ensure a safer and more efficient job. This preparation also minimizes the chance of errors that could complicate car maintenance or the replacement itself.
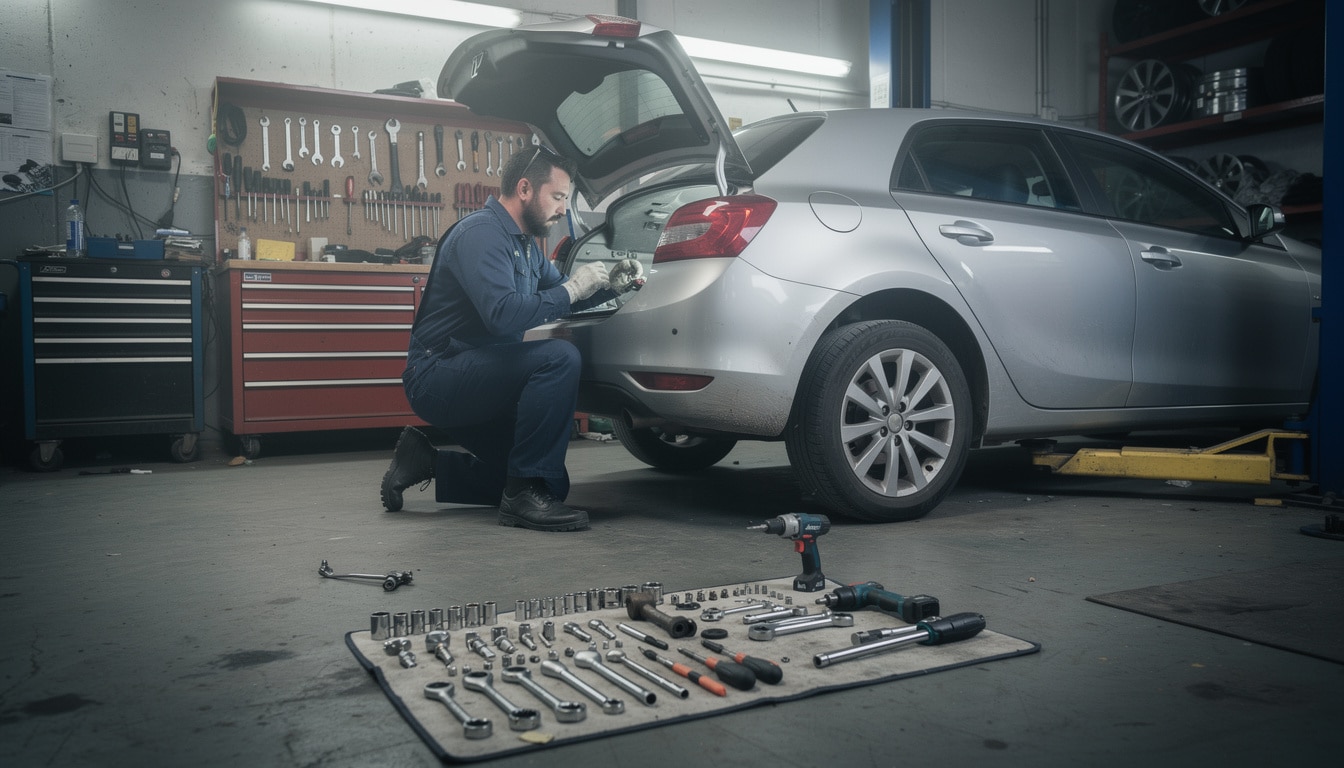
Step 1: Removing the Hydraulic Cylinders to Free the Boot Lid
The first technical step involves detaching the hydraulic cylinders that support your boot lid’s opening and closing mechanism. Removing these prevents strain on the hinges during the disassembly and safeguards the cylinders from damage.
Locate the hydraulic bolts at the top where they attach to the car body. Using an appropriately sized spanner, carefully loosen and remove these bolts. Next, move to the bottom attachment points where the cylinders meet the boot lid itself. Remove these bolts as well.
With both ends free, gently push the cylinders out of their seating. They usually pop off with steady pressure from the palm of your hand. Avoid pulling on the cylinder rods directly, as this may cause internal damage affecting hydraulic pressure.
Taking care during this step prevents leaks or loss of function in the hydraulic system. Ignoring this precaution can lead to costly repairs down the line, given the complex nature of hydraulic components.
💡 Expert Tip: Always handle hydraulic cylinders with care, and avoid using excessive force when disconnecting to prevent damaging seals inside the struts.
Step 2: Disconnecting Electrical Wiring for Boot Lid Lighting and Locking
If your boot lid involves electrical components such as brake lights, reversing cameras, or central locking systems, the next step is to disconnect all wiring. Most cars route wiring harnesses through a flexible rubber boot between the body and the lid.
Follow each wire carefully and find connectors or plugs. Many modern vehicles use a universal plug that collects all necessary connections, simplifying removal. If your model has multiple plugs, make a note or take photos for correct reassembly.
Disconnect plugs by pressing release tabs and pulling gently. Do not yank on wires to avoid tearing or breaking internal connectors. Once unplugged, tuck the loose wiring securely inside the car body to prevent snagging or damage during boot lid removal.
Neglecting wiring disconnection can cause electrical faults. For example, brake lights or the internal boot light may fail to operate correctly, leading to safety hazards. In some cases, damaged wiring may trigger dashboard warning lights or interfere with central locking mechanisms.
Inspections for wire wear or corrosion at this stage are a good idea. Addressing these minor electrical issues proactively during boot lid replacement adds value to your automotive maintenance routine.
Step 3: Detaching and Removing the Boot Lid Safely
After the hydraulic cylinders and wiring are free, focus shifts to removing the boot lid hinges. This task often demands physical assistance due to the weight and awkward shape of the lid.
Remove bolts securing the hinges to the car body. Access may be limited, requiring you to lean into the boot area. Having a friend support the boot lid is crucial to prevent sudden drops or sways that could cause damage.
Once both hinges are detached, carefully lift the boot lid away from its seating with your assistant. This is an excellent opportunity to clean the sill and rubber seals beneath—removing accumulated dirt and debris to enhance future sealing and avoid leaks.
Improper hinge removal or installation often results in misaligned boot lids, causing water ingress or difficulty in closing. Aligning the boot lid correctly during this step ensures smooth operation and proper locking performance.
| Step | Key Action | Tools Needed | Safety Notes |
|---|---|---|---|
| Remove hydraulic cylinders | Unscrew bolts top and bottom; push out cylinders | Spanners | Handle with care; avoid pulling rod |
| Disconnect wiring | Unplug connectors; secure loose wires | None, manual unplugging | Do not yank wires; check for wear |
| Detach boot lid hinges | Remove hinge bolts; support lid | Socket set, spanners | Use an assistant; prevent dropping |
Step 4: Installing and Securing the New Boot Lid Correctly
Installing the new boot lid is essentially the removal process in reverse but requires additional attention to alignment and lubrication. Begin by carefully positioning the new boot lid onto the car’s mounting points. Your assistant should hold it steady as you install the hinge bolts, tightening them incrementally to adjust fitment.
Once hinged, reinstall the hydraulic cylinders by aligning their mountings and securing all bolts firmly. Test the boot lid’s movement to detect any stiffness or misalignment. Applying a light lubricant to hinges and latch mechanisms promotes smooth operation and longevity.
Reconnect all electrical wiring carefully. Ensure each connection clicks into place and is snug. This avoids poor contact that can lead to lighting failures or intermittent locking problems.
Before wrapping up, check the boot lock action using the interior lever and remote locking system if applicable. The lid should open effortlessly and lock securely without excessive force.
- Confirm all bolts are tightened to manufacturer torque specifications.
- Test hydraulic strut function by opening/closing the boot several times.
- Inspect wiring for secure fits and absence of kinks.
Addressing these finer points during installation reduces the chances of needing costly returns or adjustments. A properly installed boot lid improves both safety and vehicle aesthetics.

Maintaining Your New Car Boot Lid and Avoiding Common Problems
After replacing your boot lid, regular maintenance helps extend its life and prevents common failures. Keeping hinges lubricated every six months reduces wear. Check the hydraulic cylinders for leaks or loss of pressure, especially if you notice the lid falling too quickly or struggling to stay open.
Inspect seals to ensure they remain intact and continue to prevent water ingress, which can cause rust on both the boot lid and surrounding body panels. Should you notice flickering or non-functioning rear lights, revisit the wiring connections to confirm they are secure.
Over time, some models especially from brands like Peugeot or Honda may develop boot lid alignment or locking issues. Reading about common Peugeot 308 issues or Honda Jazz tips provides valuable insights into manufacturing quirks that may affect your vehicle.
💡 Expert Tip: Regularly operating the boot lid fully at least once a week helps maintain hydraulic and mechanical components in good condition.

How much does it typically cost to replace a car boot lid?
Replacement costs can vary widely. OEM boot lids can cost between $200 to $600 depending on make and model. Additional costs include paint matching and labor if hiring a professional. DIY replacements using aftermarket parts can reduce costs significantly.
Can I replace a boot lid by myself if it has integrated lights?
Yes, but extra caution is needed to disconnect and reconnect electrical wiring properly. It’s essential to ensure all plugs are secured to avoid lighting failures post-installation.
What are the risks of misaligning the boot lid during replacement?
Misalignment can cause difficulty in closing, locking problems, and water leaks. It may also lead to accelerated wear of seals and hinges, potentially causing rust and further damage over time.
How do I tell if my hydraulic struts need replacement?
If the boot lid fails to stay open, closes abruptly or makes strange noises, it indicates worn-out struts. Signs also include visible leaks or corrosion on the cylinder body.
Where can I find detailed guides for specific car models?
Automotive reliability reports and DIY guides like those found on websites discussing Volvo XC60 reliability or Toyota Auris challenges offer valuable, model-specific information.