Replacing your car’s rear bumper might sound like a job for the professionals, but with a bit of guidance and manual dexterity, this task is surprisingly accessible for car owners who prefer to handle vehicle repair themselves. Rear bumpers are designed as the first line of defense in low-speed collisions, absorbing shock to protect your vehicle’s bodywork. However, after even a minor rear-end impact, your bumper may suffer damage that compromises both the appearance and safety of your car. Instead of paying for costly repairs at an auto body shop, you can undertake a DIY bumper replacement that saves both time and money.
This detailed guide offers a clear, step-by-step walkthrough on removing your old, damaged rear bumper and installing a fresh one with professional precision. I will explain which tools you need, how to work safely and efficiently on your car’s rear, and provide practical advice to avoid common pitfalls. Whether you are new to car maintenance or simply want to refine your skills, this tutorial will equip you to approach car repair confidently and effectively.
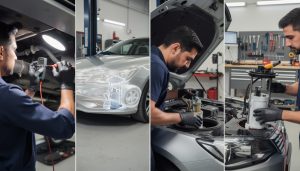
DIY bumper replacement isn’t just about saving money—it’s about regaining control over your vehicle’s upkeep and understanding its structure better. Through the following sections, you’ll gain insights that often go unmentioned in generic content, empowering you with knowledge akin to what you’d receive in a professional car workshop. Let’s dive into the mechanics and methodology behind flawless rear bumper replacements.
Key Takeaways:
- Common causes and consequences of rear bumper damage
- Essential tools and parts for a smooth DIY bumper replacement
- Detailed instructions on safely removing the damaged bumper
- How to align and install the new bumper precisely with professional tips
- Key mistakes to avoid and maintenance advice for lasting results
Understanding Rear Bumper Damage and Why Replacement Matters
Rear bumpers are critical to both the safety and aesthetics of your vehicle. Acting as shock absorbers in collisions, they prevent damage to crucial parts like the trunk, tail lights, and frame. When damaged, your car is more susceptible to further harm from even minor impacts and loses value in the process.
Common scenarios causing rear bumper damage include:
- Low-speed collisions at junctions or in parking lots
- Backing accidents involving poles, walls, or other obstacles
- Wear and tear from regular use and exposure to weather elements
It’s important to recognize when damage is more than superficial. Though some scratches and minor dents might only need touch-ups, significant cracks, extensive paint chipping, or misalignment often indicate that your bumper needs full replacement. Driving with a compromised rear bumper risks higher costs down the road if hidden structural damage worsens, especially since the bumper is designed to absorb and dissipate energy during impacts.
In my experience advising on vehicle repair, I’ve seen many customers opt for replacement only after noticing major deterioration or after failing DIY repairs. However, timing is key. Getting ahead of worsening damage by replacing the rear bumper promptly not only guarantees your car’s safety but also maintains its resale value. In professional auto shops, bumper replacement is one of the most common yet essential bodywork procedures, highlighting its importance in everyday car maintenance.
💡 Expert Tip: If your rear bumper cracks extend beyond 15 cm or if you notice deformation affecting adjacent body panels, replacement is almost always the safer and more cost-effective option over patch repair.
Tools and Preparation: What You Need to Replace Your Rear Bumper Like a Pro
A smooth and damage-free bumper replacement relies heavily on proper preparation and equipment. Fortunately, the toolset for this task is straightforward and affordable for most car owners. Here’s what you will need:
| Tool / Item | Purpose | Recommended Tips |
|---|---|---|
| Set of spanners or adjustable wrench | To loosen and tighten bolts securing the bumper | Carry both metric and imperial sizes to accommodate various cars |
| Flat head screwdriver | To pry off plastic trims and rivets without damage | Use a plastic pry tool if available to avoid scratches |
| Plastic clips or replacement fasteners | To replace any damaged clips that fix the bumper | Keep some spares handy; they are inexpensive and easy to install |
| Safety gloves | Protect hands during removal and installation | Choose gloves with good grip and cut resistance |
| Assistant (optional but recommended) | To hold the bumper in position while bolting | Can save significant time and reduce frustration |
Working on a flat, well-lit area such as your driveway or garage will significantly ease each stage of the process. Remember to engage the parking brake and ensure your vehicle remains immobile throughout the job.
💡 Expert Tip: Before you begin, take photos of your bumper assembly and bolt placements to reference during reinstallation—it can save considerable troubleshooting time later.
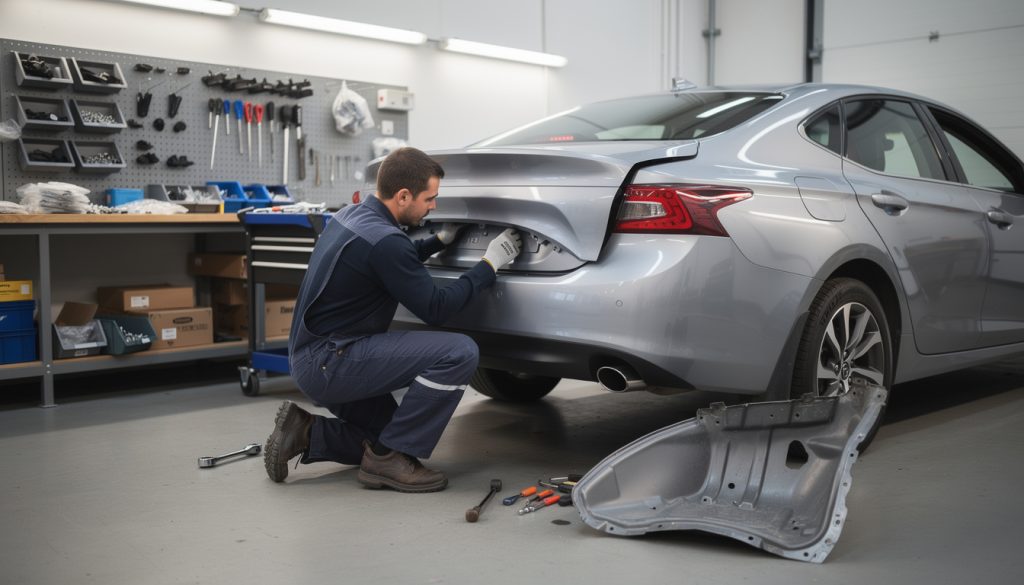
How to Remove Your Damaged Rear Bumper: A Step-by-Step Breakdown
Removing a rear bumper might seem intimidating, but the key is to follow an organized sequence to avoid damaging clips or paint.
Step 1: Accessing Bolts Through the Trunk
The first step involves opening the trunk to access the bolts hidden behind plastic trims that secure the bumper. Use your flat head screwdriver to carefully remove the trim screws. Pry off the plastic cover cautiously to avoid cracks. Underneath, you will find several bolts—use your wrench or spanner to remove them one by one.
Step 2: Detaching Bolts Inside the Rear Wheel Arches
Next, move to the rear wheel arches beside the bumper. Here, another set of bolts keeps the bumper tightly attached to the body. Remove these bolts, typically an even number on each side, which will almost fully release the bumper from the vehicle frame.
Step 3: Removing Plastic Rivets from Underneath
Slide under your vehicle carefully and locate plastic rivets securing the bottom edge of the bumper. Use your screwdriver to gently pop them out. Keep these fasteners safe if they’re reusable, or replace them with new ones during reinstallation.
Step 4: Detaching the Bumper
With all bolts and clips removed, grip the bumper firmly and pull it away from the vehicle. It may take a little wiggling to free any remaining clips, but be patient to avoid damage.
I recommend laying the bumper on a soft surface such as a blanket or foam to protect it during the next steps.
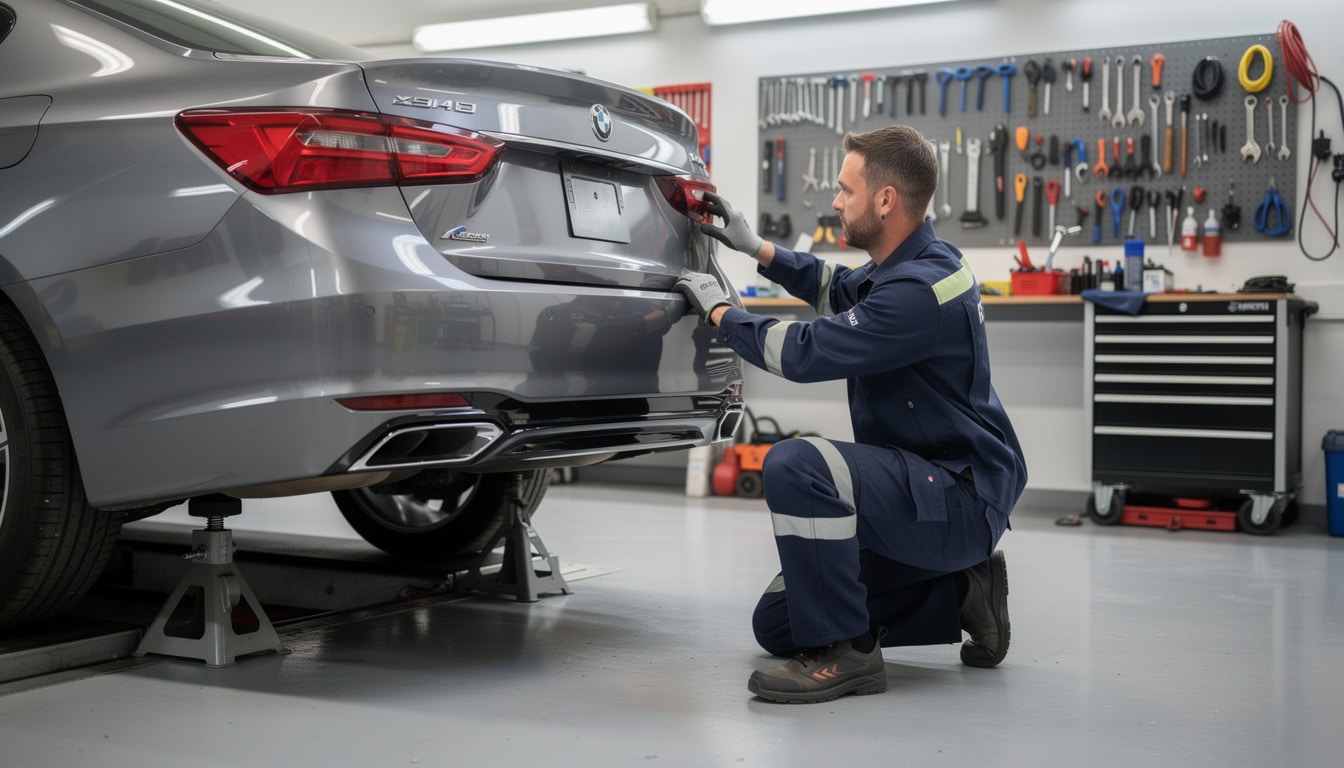
Installing Your New Rear Bumper: Align, Secure, and Final Checks
Installing the new rear bumper requires careful alignment and gradual tightening of bolts to ensure perfect fitment and to avoid warping the bumper panel.
Step 1: Precise Alignment with Help
This stage benefits greatly from another person’s assistance. Have your helper hold the bumper in position while you line up the bolt holes inside the trunk and wheel arches. It might take a few attempts to get the alignment right, so work slowly and communicate clearly.
Step 2: Tightening Bolts and Fasteners
Once aligned, reinsert and tighten the bolts inside the trunk first, followed by bolts in the wheel arches. Replace plastic rivets underneath, securing the bumper firmly to the chassis. Do not over-tighten bolts as this could crack the plastic; a snug fit is ideal.
Step 3: Reattaching Plastic Trims
Carefully put back the plastic trims covering the bolts and screw them back in place. These trims protect the bolts from rust and dirt, so it’s crucial they’re properly reinstalled.
Step 4: Final Inspection and Adjustments
After your new bumper is fully attached, walk around your car checking for any movement or misaligned edges. Press lightly along the bumper to feel for loose areas and tighten any bolts or fasteners where needed. A solid rear bumper will not wiggle or rattle when pushed.
Replacing a rear bumper may look impressive, but with these clear instructions, it’s a manageable and rewarding DIY project. You can proudly drive knowing you’ve restored both your car’s looks and protection, without the need for a professional car workshop visit.

Common Mistakes to Avoid and Professional Tips for Long-Lasting Repairs
Even simple maintenance tasks like bumper replacement can go wrong if care and attention are neglected. Here are frequent mistakes I’ve observed and how to steer clear of them:
- Forgetting to Keep Track of Screws and Fasteners: Mixing up or losing bolts can delay the project and sometimes force you to buy replacements unnecessarily.
- Forcing Alignment: Pushing the bumper into place without proper hole alignment may crack clips or deform the bumper’s edges.
- Over-Tightening Bolts: Excessive torque risks warping plastic bumpers or stripping threads.
- Neglecting Safety Precautions: Always use gloves and ensure vehicle stability during work.
- Ignoring Surface Preparation: If you plan to paint the new bumper, surface prep is critical to avoid peeling.
Make sure to replace any worn-out clips with new plastic fasteners. They only cost a few pounds but guarantee a tight, rattle-free fit.
💡 Expert Tip: Apply a silicone-based lubricant to clips and bolts for smoother fitting and easier future removals.
Implementing proper technique will not only help your DIY bumper replacement pass a rigorous professional inspection but will also give your car the durability and finish it deserves.
Can I replace my rear bumper without professional help?
Yes, with basic mechanical knowledge and the correct tools, you can replace your rear bumper yourself safely and effectively.
Do I need to repaint the new bumper after installation?
If your new bumper is unpainted or you want to match your car’s color perfectly, repainting will be necessary for a seamless look.
What are the most common tools required for rear bumper replacement?
You’ll need spanners or an adjustable wrench, a flat head screwdriver, replacement fasteners, and safety gloves.
How much time should I allocate for a rear bumper replacement?
Typically, a DIY bumper replacement takes between 1 to 2 hours, depending on your experience and assistance.
Is it necessary to align the bumper perfectly?
Absolutely. Proper alignment ensures the bumper functions correctly and maintains your vehicle’s aesthetic and safety standards.