The heater core is a vital part of your vehicle’s HVAC system, responsible for warming the cabin by circulating hot engine coolant through its fins while the blower motor pushes air over it. If your car is struggling to deliver heat or you notice signs like coolant smells or fogging windows, it’s time to consider heater core replacement. Though this repair is complex due to the heater core’s location behind the dashboard, understanding the process and recognizing symptoms can save you time and money.
Key Takeaways:
- Car heater core failure often shows as temperature fluctuations, coolant odors, and foggy windows.
- The heater core sits behind the dashboard, making its removal a detailed job requiring mechanical skill.
- DIY heater core replacement involves removing the heater box, extracting the heater matrix, and installing a new unit with proper insulation.
- Replacing the heater core restores the car heating system functionality and prevents further cooling system issues.
- Detailed inspection and precise reassembly are critical to avoid leaks and ensure effective heater core installation.
Recognizing Symptoms of a Faulty Heater Core in Your Car Heating System
When your vehicle’s heater core malfunctions, the first signs are quite distinct if you know what to look out for. One of the most common symptoms is temperature fluctuations inside your car—from an initially warm cabin that suddenly turns cold without explanation. This happens because the heater core is no longer effectively transferring heat.
Another clear indication is a persistent sweet smell inside the cabin, which comes from coolant leaking inside the vehicle. If you notice a damp sensation on the floor, especially on the passenger side near the heater box, that’s almost a guaranteed sign of a heater core leak. Fogging windows that don’t clear easily is yet another symptom, as the escaping coolant affects the windshield defrosting system.
More technical vehicle issues often accompany these signs, such as unexpected drops in coolant levels without visible leaks under the car, or an overheating engine due to a compromised automotive cooling system. Catching these symptoms early can prevent a more serious breakdown, which could escalate repair costs.
For a thorough understanding, you can refer to detailed signs of heater matrix faults at this resource, which explains the warning symptoms and underlying causes.
💡 Expert Tip: Always check for leaks inside the cabin and under the dashboard if heating issues arise; small coolant traces can save you from costly repairs by signaling heater core failure early.
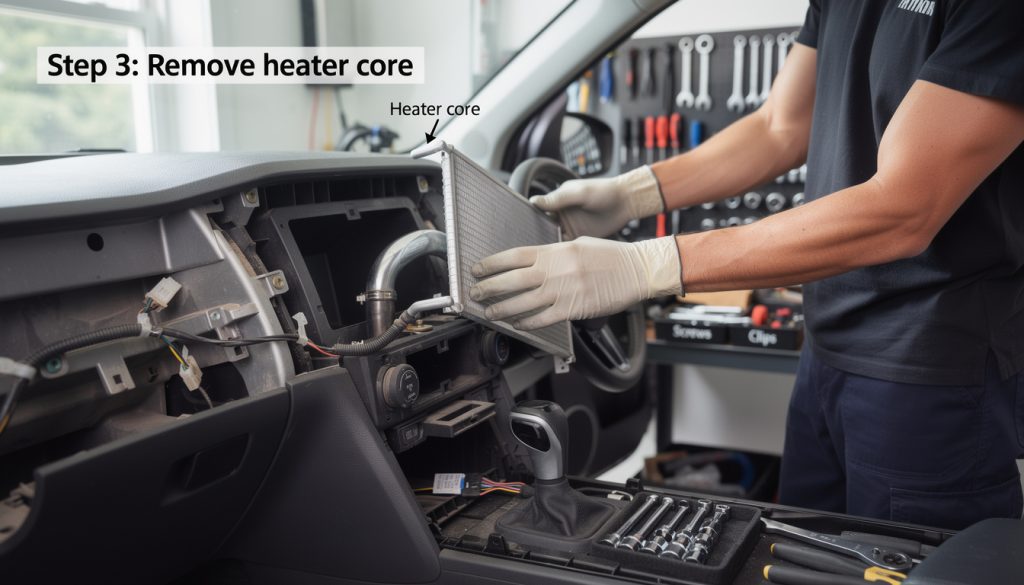
Accessing and Removing the Heater Box: The First Critical Step
The heater core removal begins with taking out the heater box, which is usually hidden behind parts of the dashboard or glove compartment depending on the vehicle model. This step is labor-intensive since it involves dismantling interior panels, possibly removing the entire dashboard. Preparation and the right tools are essential here; you’ll need a drill, socket sets, spanners, and foam padding for later insulation.
Start by carefully detaching any clips, screws, and panels obstructing access to the heater box. Each car is different, so consulting your vehicle’s service manual is prudent. Disconnect disconnected wiring harnesses and coolant tubes linked to the heater unit carefully to avoid damage. This system involves delicate components; a wrong move could break connectors or cause leaks.
Once the heater box is free, you’ll usually find it secured with multiple bolts that must be removed. In some cars, screws holding the heater matrix inside the box require drilling out with precision, as damage here could complicate the installation of the new heater core later on.
Working on the heater box demands patience and discipline — rushing can lead to broken dashboard clips or chipped panels. But the reward is regaining full access to the heater matrix inside, so that you can proceed with a complete and proper replacement of your car’s heating element.
Tools and Preparation Checklist:
- Socket set and wrenches
- Electric drill with bits
- Foam padding for insulation
- Screwdrivers and trim removal tools
- Protective gloves and eye protection

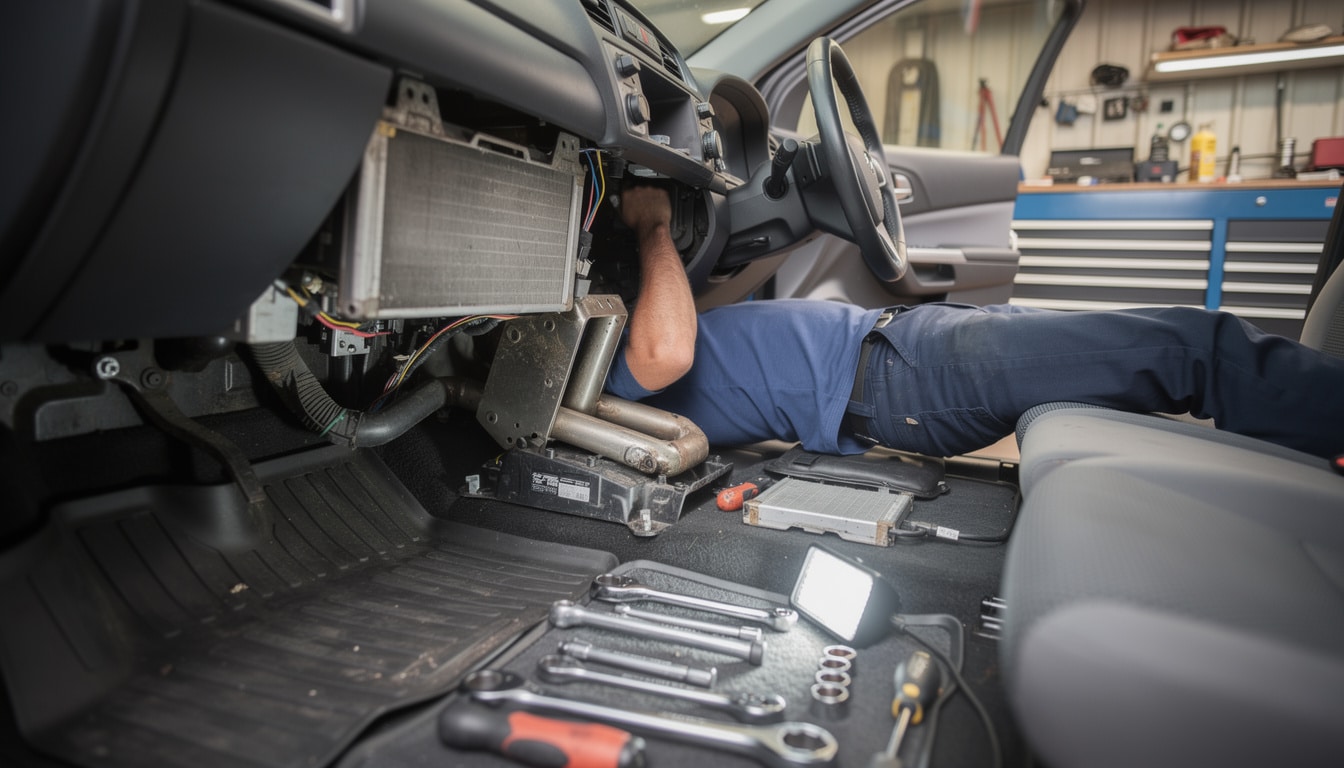
Extracting and Replacing the Heater Matrix: The Heart of the Job
The heater matrix (or heater core) is a compact radiator-like component that uses engine coolant to warm your car’s interior air. Although it resembles a small radiator, replacing it inside the heater box requires deliberate care.
Begin by removing the heater matrix from the heater box carefully. This involves undoing bolts and fixings holding it in place, sometimes requiring the use of a drill if screws are not easily accessible. The matrix is often surrounded by insulating foam to maintain efficient heat transfer and cabin warmth. This foam usually needs replacing, so be sure to have suitable padding ready.
Once extracted, inspect the heater matrix for leaks or blockages confirming it’s the cause of your heating problem. Installing the new heater core involves reversing the removal steps — placing it securely and insulating it properly to prevent heat loss or cold drafts.
Mechanical Tip: Sometimes older vehicles require custom fitting or using self-tapping screws to reinstall the new heater matrix due to space constraints or design tweaks. Ensuring the heater matrix fits snugly and seals the unit is key to restoring optimal heating.
Cost-wise, expect heater core parts to run between $100 and $250, but labor is extensive due to complexity. DIY enthusiasts save money but must invest significant time and care to avoid mistakes that would require disassembly again.
Additional in-depth advice can be found in this car radiator and heater core troubleshooting guide which covers common issues with the automotive cooling system that impact heater core function.
Reassembling and Testing the Heater Core Installation for Optimal Performance
Once the new heater matrix is securely in place and insulated with foam padding, reassembling the heater box is the next challenge. Use self-tapping screws or nuts and bolts, depending on your vehicle’s design and available space. Ensure all bolts are tightened properly, and the heater box fits back into its compartment without forcing it, preserving the dashboard’s structural integrity.
Reconnect all electrical connectors and coolant hoses meticulously. This step is critical — any loose connection can cause leaks or HVAC malfunctions. Don’t rush; double-check that every clip, bolt, and hose is firmly fixed.
The final stage is rebuilding your dashboard and any panels removed. This requires patience and the right tools to realign trims and ensure there are no rattles or loose parts that will annoy you later.
After completion, start the engine and test the system. Heat should come steadily through the vents, and there should be no coolant smell or leaks. If the airflow remains cold or inconsistent, check for gaps or leaks in the heater box seal or faulty reinstallation of the heater core.
An organized approach in this phase guarantees reliable heater core operation and long-term comfort during cold weather driving.

| Phase | Tools Required | Estimated Time | Common Challenges | Tips |
|---|---|---|---|---|
| Heater Box Removal | Socket set, Screwdrivers, Drill | 2-4 hours | Dashboard disassembly, Hard-to-reach screws | Follow vehicle manual carefully; take pictures during disassembly |
| Heater Matrix Removal | Drill, Spanners, Foam padding | 1-2 hours | Damaging heater core fins, Foam insulation replacement | Work methodically; avoid bending fins |
| Installation & Reassembly | Self-tapping screws, Bolts, Screwdrivers | 2-3 hours | Incorrect sealing, Loose hose connections | Check all seals and connections thoroughly |
Preventive Heater Core Maintenance and Troubleshooting Tips
Maintaining your car’s heater core helps avoid the complexities of replacement. Keep an eye on coolant levels regularly, as leaks are a major symptom of heater core wear. Flushing the automotive cooling system every 2 years removes buildup that can block the heater matrix and affect heat output.
If you notice any of the early symptoms mentioned earlier, such as persistent fog or sweet coolant smell, address these immediately. Sometimes leaks can be temporarily sealed with radiator stop-leak additives, but these are short-term fixes that should not replace a proper repair.
Proper heater core maintenance can extend the life of your vehicle’s entire heating system and ensure a comfortable cabin temperature year-round. Be mindful of any radiator or cooling system issues, especially in older models or certain cars prone to early heater matrix wear, such as the BMW M4. For more on common problems specific to such models, see this guide.
💡 Expert Tip: Regularly inspect heating system hoses and clamps for wear, as these often cause leaks impacting heater core function.
By adopting a proactive approach to your car heater core’s health, you ensure safety, comfort, and efficiency in your vehicle’s HVAC operation.
How long does it typically take to replace a car heater core?
Replacing the heater core usually takes between 5 to 8 hours depending on the car’s make and model due to the extensive dashboard removal required.
Can I perform a DIY heater core replacement safely?
If you have a good understanding of vehicle HVAC systems and the required tools, DIY replacement is possible but challenging. Always follow a detailed step-by-step guide and take safety precautions.
What are the risks of ignoring heater core problems?
Ignoring a faulty heater core can lead to coolant leaks, interior damage, foggy windows limiting visibility, and engine overheating, which could cause serious, costly engine damage.
Is it possible to repair a heater core without replacing it?
Minor leaks might be temporarily sealed, but in most cases, replacement is the most reliable and long-lasting solution due to the heater core’s critical function.
What tools are essential for replacing the heater core?
Essential tools include socket sets, drills, screwdrivers, spanners, foam padding for insulation, and safety gear like gloves and goggles.