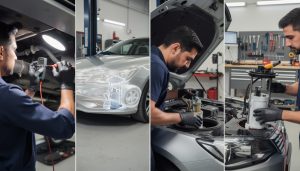
Changing a car gearbox is a significant undertaking that can greatly extend the life of your vehicle if done correctly. Whether you’re dealing with a worn-out manual transmission or an automatic transmission that’s starting to fail, understanding the process, required tools, and potential pitfalls is essential. This comprehensive guide from the breakerlink blog will navigate you through every stage of the gearbox replacement, mixing expert advice with practical steps to empower even a dedicated DIY mechanic to tackle this job with confidence. This article elaborates not only on the mechanical steps but also on preparation and safety, acknowledging the complex nature of transmission repair and the importance of accuracy in reconnection to prevent future issues.
Key Takeaways:
- Understand the role and wear factors of a car gearbox in both manual and automatic transmissions.
- Learn essential preparation steps to ensure safety and efficiency during gearbox replacement.
- Discover the detailed disconnection, removal, and installation process supported by useful tips.
- Explore reconnection techniques vital for correct gearbox operation after installation.
- Check practical advice for test driving post-installation and troubleshooting common transmission concerns.
Understanding the Critical Role of a Car Gearbox and When to Opt for Gearbox Replacement
The car gearbox is pivotal in managing the power from your engine to your wheels, allowing smooth transition between speeds and torque adjustment. Fundamentally, it alters the ratio between engine speed and wheel speed, ensuring efficiency and control in diverse driving conditions. Over time, persistent stress and friction cause wear to the gears and gear trains, leading to difficulty in selecting gears or strange noises indicating malfunction.
Recognizing when your gearbox needs servicing or replacement is essential to avoid total transmission failure. Faulty gearboxes typically show signs like slipping gears, delayed engagement, grinding sounds, or fluid leaks. Drivers with a manual transmission might notice increased difficulty shifting gears, while automatic transmissions may experience erratic shifting or failure to engage properly.
💡 Expert Tip: Regular gearbox maintenance can stave off costly repairs. Inspect fluid levels and quality every 12,000 miles and listen closely for unusual noises to detect problems early.
Replacing a worn gearbox is not only about remedying current issues; it also significantly impacts overall vehicle reliability and performance. For example, models like the Toyota Corolla and Jeep Cherokee have documented gearbox challenges that drivers should monitor carefully. Understanding these diagnostic signs prepares you well for the gearbox replacement process, arming you with the right expectations and tools.
Essential Preparation Steps for a Successful Gearbox Change
Careful planning is paramount before diving into a gearbox replacement since it involves handling heavy parts and intricate components. First and foremost, always work on a flat, stable surface preferably indoors where you can control lighting and weather conditions. Detach the car battery to avoid short circuits while working on electrical connectors linked to the gearbox.
A well-prepared environment reduces the chance of errors or accidents. Gather a comprehensive set of tools including a sturdy car jack capable of supporting the gearbox weight, various socket wrenches, screwdrivers, and containers for fluid collection. Additionally, consider enlisting a friend to assist with lifting and alignment, which will not only improve safety but also efficiency.
Ensuring sufficient illumination with LED work lamps or natural daylight is crucial. Inspect your workspace for any possible hazards like oil spills or loose debris. Delineate the area around the car to avoid distractions or intrusion during the procedure.
💡 Expert Tip: Label all wires with masking tape and mark driveshaft bolt alignment before disassembly. This foresight simplifies reconnection and prevents expensive mistakes.
This phase is also about mental preparation—understanding the task’s complexity helps set realistic time expectations. A skilled mechanic can complete a full gearbox change in about eight hours, but first-timers might take longer. Remember, rushing increases the likelihood of errors, so stay methodical and patient.

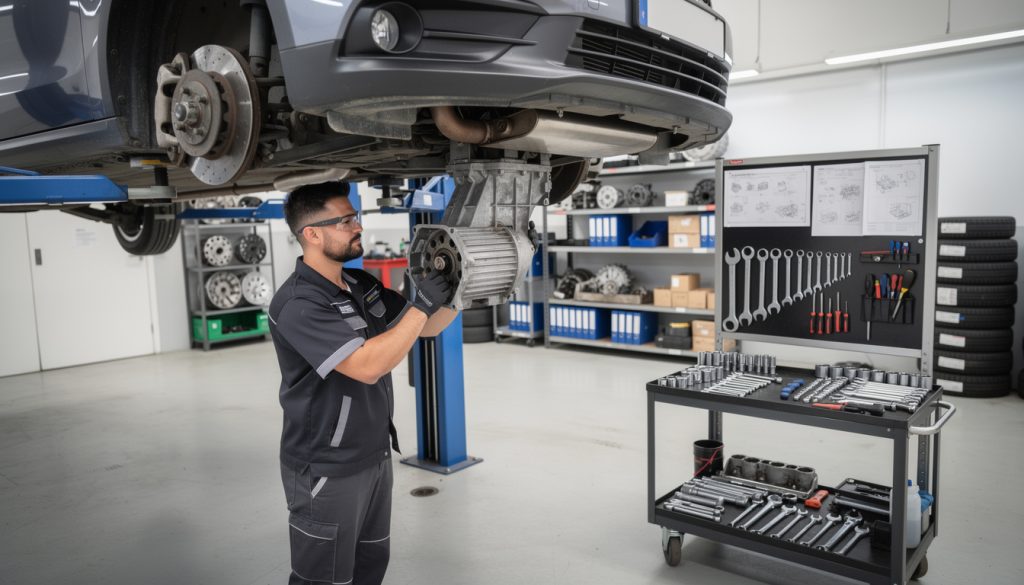
Step-by-Step Disconnection and Removal of Your Car Gearbox
Starting the actual gearbox removal requires methodically disconnecting related components. Begin by removing the gearstick top and any surrounding trim or console to access the gear selector mechanism. Pay attention to detail; modern vehicles have multiple sensors and wiring harnesses connected to the gearbox that play a role in the shifting operation.
Next, disconnect electrical connections carefully and mark each with masking tape to ensure precise reconnection later. Upon reaching the driveshaft bolts, mark their positions to maintain correct circumferential alignment when installing the new gearbox.
Drain the transmission fluid by removing the drain plug or loosening the output shaft bolts, placing a container beneath to catch fluid and avoid environmental contamination. Also, gently detach the speedometer cable and any auxiliary components still mounted.
Supporting the gearbox with a suitable jack is key when you unscrew the bolts linking it to the engine block and cross-member. The gearbox’s weight and bulk require stable and gradual lowering to prevent injury or part damage. Wheels can be blocked and safety stands used to ensure vehicle stability throughout.
After the gearbox is free, wheel it out carefully from beneath the vehicle for either disposal or repair. This step demands vigilance because improper handling can cause structural damage to surrounding parts or the gearbox itself.
- Remove gearstick and trim
- Label and disconnect wiring harnesses
- Mark driveshaft bolt positions
- Drain transmission fluid safely
- Detach speedometer cable and auxiliary parts
- Support gearbox with jack, unbolt, and remove carefully

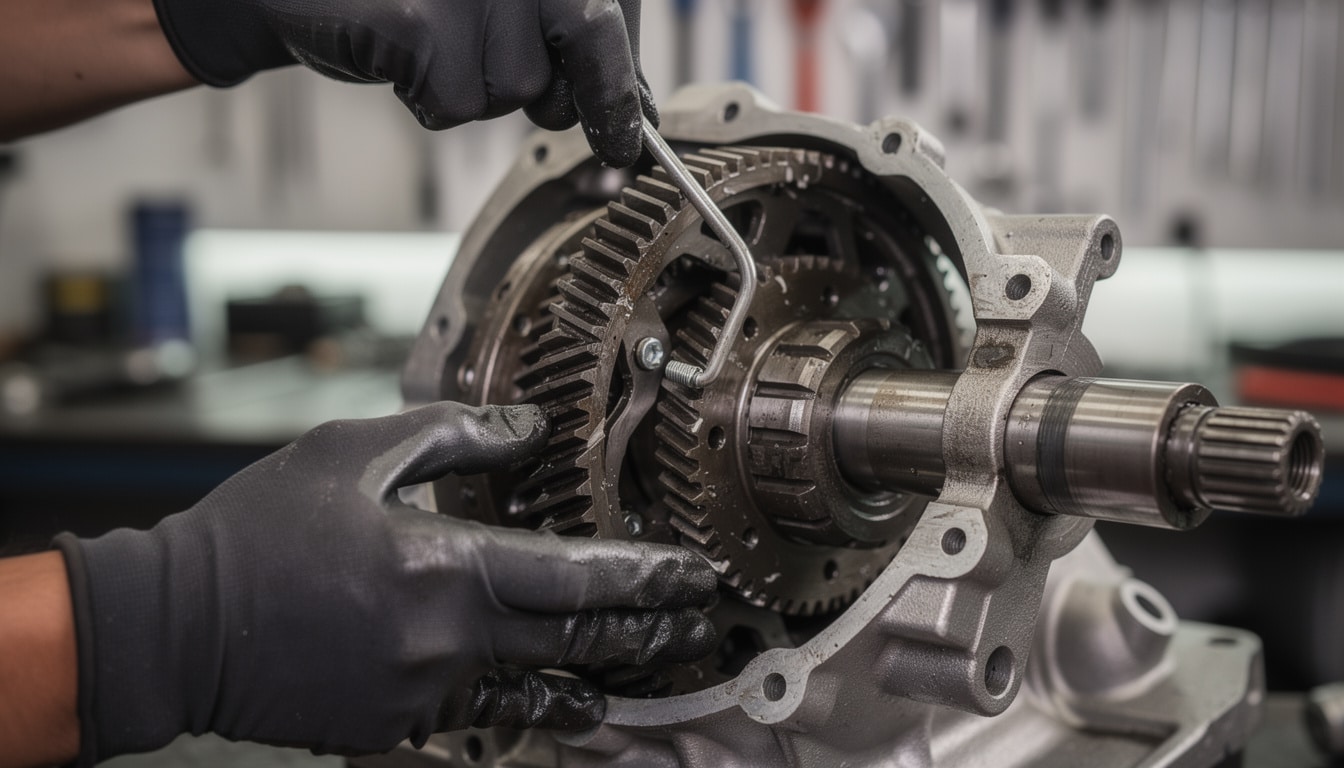
Installing and Reconnecting Your Replacement Gearbox for Optimal Performance
Installation essentially reverses removal but demands equal attention to detail. Begin by mounting the replacement gearbox on the jack, positioning it under the vehicle cautiously to align with the engine and cross member mounting points. Bolts should be tightened to manufacturer specifications with a torque wrench where possible to prevent loosening or damage over time.
Reconnect all labeled electrical wiring and bolted connections. Confirm the driveshaft bolts are fixed securely in their previously marked positions to avoid imbalance or vibration during operation. Filling the transmission with recommended fluid to the correct level is essential since insufficient lubrication risks severe internal damage.
With everything reattached, double-check all fittings and wiring to guard against overlooking small but critical connections. The integrity of these reconnections directly impacts the gearbox operation and durability. Practicing organized, stepwise reconnection minimizes error, cuts down troubleshooting time, and enhances vehicle reliability.
Here is a useful table summarizing torque specs and fluid types for popular car models known for gearbox issues in 2026:
| Car Model | Transmission Type | Tightening Torque (Nm) | Recommended Fluid |
|---|---|---|---|
| Toyota Corolla | Manual & Automatic | 65-75 | Type T4 Synthetic |
| Jeep Cherokee | Automatic | 80-90 | ATF+4 |
| BMW M4 | Manual | 70 | GL-4 Gear Oil |
| Land Rover Discovery Sport | Automatic | 85-95 | Dexron VI |
Completing this phase carefully means your car will have a higher chance of smooth shifting and extended transmission life similar to well-maintained vehicles discussed in the Land Rover Discovery Sport reliability reports.
Final Testing and Troubleshooting After Gearbox Replacement
With the gearbox installed and everything reconnected, the final and crucial step is to test the system under controlled conditions. Start with small test drives on low-traffic roads and gentle acceleration to check gear engagement, shifting smoothness, and absence of unusual noises.
Initial stiffness is expected particularly for brand new gearboxes; however, persistent roughness or failure to shift could indicate misalignment, fluid levels issues, or incorrect wire connections. It’s advisable to monitor the gearbox behavior for the first few hundred miles carefully.
Keep an eye on the transmission fluid temperature and look out for leaks or warning lights on the dashboard. If problems persist, seek expert transmission repair services to diagnose deeper faults potentially missed during installation.
This gradual approach ensures your safety, prolongs your car’s gearbox life, and avoids sudden breakdowns. Performing a routine follow-up inspection after 500 miles also helps identify developing issues early, saving time and repair costs.
Common mistakes in gearbox replacement include skipping the labeling process, poor fluid management, and inadequate bolt torque tightening. Attention to these details is fundamental for maintenance success and optimal transmission function.
How often should I perform gearbox maintenance to prevent replacement?
Perform a gearbox fluid and system check every 12,000 miles or annually to detect wear and avoid costly repairs.
Can I change my car gearbox without professional help?
While challenging, with proper tools, clear instructions, and safety precautions, experienced DIYers can replace gearboxes. Assistance is strongly recommended.
What are the main signs of a failing gearbox?
Common symptoms include difficulty shifting gears, strange noises during gear changes, slipping gears, and transmission fluid leaks.
Is gearbox replacement different for manual and automatic transmissions?
Yes, automatic transmissions might have more complex electronic components and fluid systems; however, the core removal and installation steps overlap substantially.
Where can I find reliable replacement gearboxes?
Reputable breakers and specialized dealers like those recommended on breakerlink blog ensure quality and warranty for replacement parts.