Replacing a faulty oil pan is critical to preventing oil leaks and safeguarding your car engine. An oil pan in poor condition can lead to serious damage, including engine wear due to insufficient lubrication. Learning how to replace your car’s oil pan efficiently can save you both time and expensive repairs. This guide breaks down the process into manageable steps and explains what tools and precautions you should take.
Key Takeaways :
- Spotting oil leaks under your car often signals oil pan damage.
- Proper tools such as a car jack, wrench, and socket set are essential for oil pan replacement.
- Draining engine oil completely and disposing of it responsibly is necessary.
- Replacing the oil filter alongside the oil pan ensures optimal engine protection.
- Careful cleaning and gasket replacement are crucial to prevent future leaks.
Identifying Oil Pan Damage: Common Signs and Causes
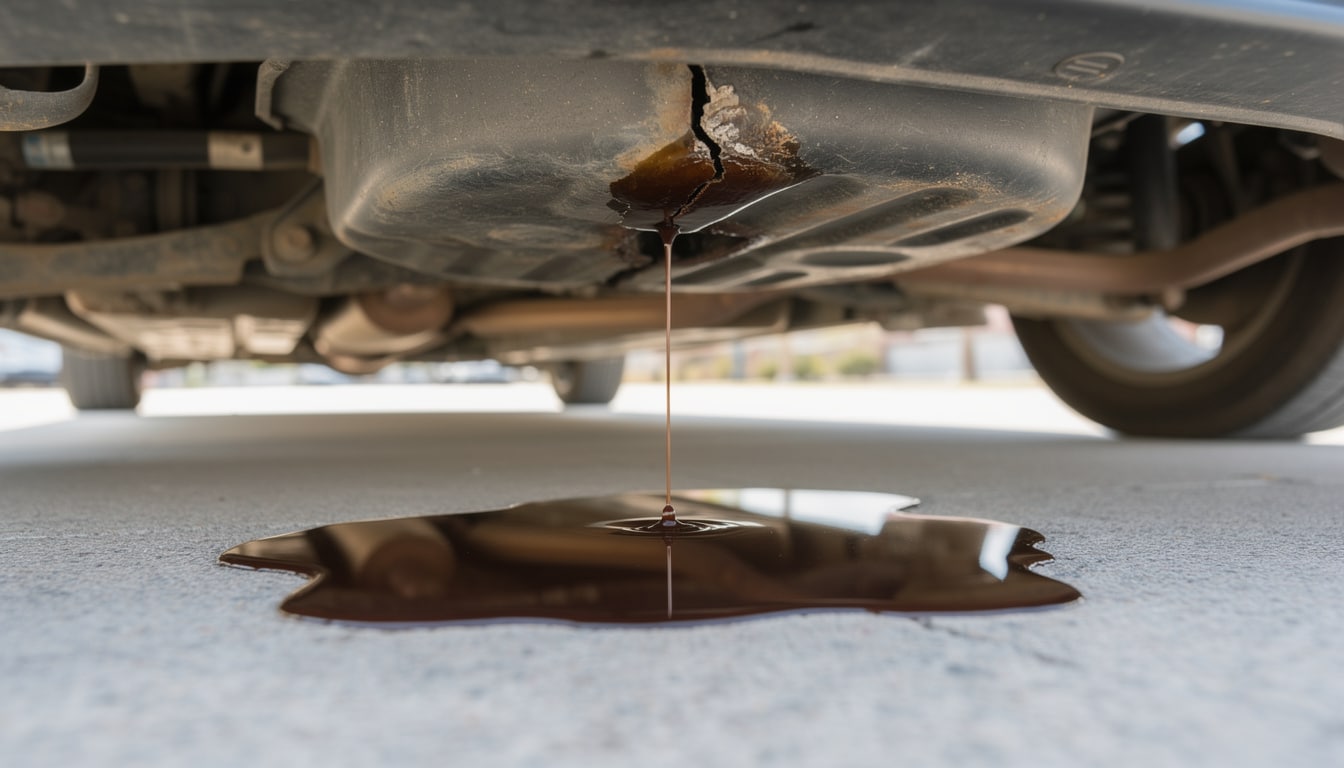
Oil pan damage is often the culprit behind mysterious oil spots under your vehicle when parked. These spots may start as small pinpoint leaks but can expand over time, forming larger oil patches that damage your driveway or parking space. Detecting these early signs is a vital part of car maintenance to avoid engine damage.
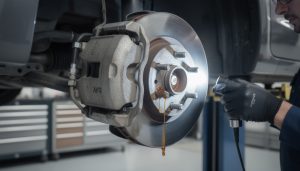
Typically, oil leaks originate from a compromised oil pan or its gasket. The oil pan is located at the bottom of your car engine and acts as an oil reservoir. It’s made of metal or composite material, both vulnerable to cracks or corrosion due to road debris, engine heat cycles, or a poor gasket seal. A bent or cracked oil pan usually results from impact damage like hitting road obstacles or curbs.
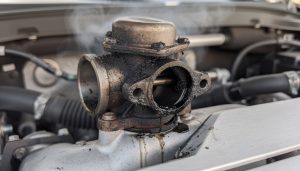
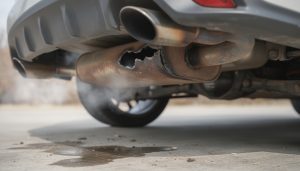
In certain cases, you might notice a persistent burning oil smell or even smoke if oil drips onto hot engine parts. This is a clear indication that your oil pan or its drain plug might be leaking or damaged.
Understanding these symptoms early enables you to schedule repairs before oil levels drop to dangerous lows, which could cause complete engine failure. For a detailed explanation of related symptoms and maintenance tips, this vehicle oil sump symptoms article provides useful insights.
Common oil pan issues include:
- Physical damage from impact or corrosion
- Worn or deteriorated gasket seals between the pan and engine block
- Loose or stripped drain plug threads causing leaks
- Improper installation causing misalignment and seepage
Each of these contributes differently to oil leakage frequency and severity, but all demand timely intervention to keep your car engine operating smoothly.
Tools and Preparations Needed for Oil Pan Replacement
Before undertaking an oil pan replacement, assembling the appropriate tools and safety equipment is essential. This preparation not only expedites the repair but also ensures safety and precision.
- Car jack and jack stands: Safely lift and secure your vehicle.
- Large oil catch pan: To collect draining oil and prevent spills.
- Socket set and wrench: Necessary for loosening drain plugs and bolts securing the oil pan.
- Oil filter wrench or pliers: For removing a potentially tight oil filter.
- Shop cloth or rags: To clean surfaces and handle spills.
- Silicone sealant: Used for gasket replacement to ensure a robust seal.
- New oil and oil filter: Replacement parts recommended by manufacturers for any oil pan service.
Make sure to work on a flat surface and have decent lighting. Wear protective gloves to avoid contact with used engine oil, which is hazardous. Allocate a minimum of 2-4 hours to complete this task depending on vehicle accessibility and your experience.
💡 Expert Tip: Double-check your vehicle’s service manual for specific torque values when tightening oil pan bolts. Over-tightening can warp the pan and lead to leaks.
Step-by-Step Guide to Removing the Old Oil Pan
Removing the old oil pan requires care to avoid damaging engine parts and to ensure a smooth replacement process.
Raise and Secure Your Vehicle
First, use your car jack to lift the vehicle from the designated jacking points. Substitute the jack with jack stands for safety. Never rely solely on the jack when working underneath your car.
Drain the Engine Oil
Place the oil catch pan directly below the oil sump’s drain plug. Use a wrench or socket to unscrew the drain plug cautiously. Allow sufficient time for all oil to flow out completely. Dispose of used oil at a designated recycling center to comply with environmental regulations.
Remove the Oil Filter
Detach the oil filter carefully. Often it’s tightly fastened, so use an oil filter wrench or grips to loosen it. Changing the oil filter alongside the oil pan is standard practice to optimize lubrication and engine health after the repair.
Unscrew the Oil Pan Bolts
Locate all bolts fastening the oil pan to the engine block. Use your socket set to remove them systematically in a cross pattern to reduce strain on the component. Expect some resistance as old gaskets apply adhesive force.
Detach and Remove the Oil Pan
Gently pry the oil pan free; be prepared to tap lightly with a rubber mallet if necessary. Avoid using sharp tools that could damage mounting surfaces. Once free, compare the old pan with your new replacement to ensure all bolt holes and dimensions match.
This process is straightforward but requires patience to avoid damaging the gasket surface. You can find a related guide on vehicle part replacement for further repair methodology.

Preparing and Installing the New Oil Pan with Gasket Replacement
Replacing the oil pan gasket is as crucial as fitting the new pan itself. It prevents oil leaks and protects engine internals.
Cleaning Oil Pan and Engine Surfaces
Using a clean cloth, remove all leftover gasket material and oil residue from the engine block’s mating surface and from the new oil pan. A perfectly clean surface is critical for the new silicone sealant to adhere properly.
Applying Silicone Sealant
Apply a consistent bead of silicone sealant around all mating surfaces on the oil pan. Some models may also require applying sealant on the engine block side—but refer to your service manual for exact instructions.
Positioning and Securing the Oil Pan
Align the new oil pan with mounting holes lined up correctly. Insert bolts finger-tight first to ensure correct positioning. Then proceed to evenly tighten bolts using the recommended torque sequence, which usually follows a star or cross pattern to prevent warping.
Installing the New Oil Filter and Drain Plug
Screw in the new drain plug if provided; otherwise, reinstall the original plug after inspecting its condition. Replace the oil filter by screwing it in by hand until firmly seated, then give it a slight turn to secure.
Always check for thread damage to avoid oil leaks after reinstallation.
Final Steps: Refilling Oil, Leak Testing, and Safety Precautions
Once your oil pan replacement is complete, the final phase involves refilling with fresh oil and thorough inspection for leaks.
Refill Engine Oil and Check Levels
Use the dipstick to monitor oil levels carefully, adding recommended oil quantities specified by your vehicle’s manual. Avoid overfilling as this might cause pressure issues or leaks.
Perform a Leak Test
Start the engine and let it idle for several minutes. Check underneath for any signs of oil seeping around the oil pan edges or the drain plug. Tighten bolts slightly if minor leaks appear, but don’t overtighten.
Lower the Vehicle Safely
When the leak test confirms everything is secure, carefully remove jack stands and lower the car. Finally, take a short test drive to ensure no unusual noises or mechanical issues occur.
Maintenance Tips to Extend Oil Pan Life
- Regularly check for oil leaks during routine car maintenance.
- Replace oil filters and oil at recommended intervals.
- Avoid driving over potholes or rough terrain prone to damaging the oil pan.
Being proactive with these checks reduces the chance of premature oil pan failure and costly automotive repairs.

| Step | Tools Needed | Key Tips | Estimated Time |
|---|---|---|---|
| Drain engine oil | Car jack, oil catch pan, wrench | Allow sufficient oil drainage time | 15-30 minutes |
| Remove oil filter | Oil filter wrench or pliers | Replace with new filter | 10-15 minutes |
| Remove oil pan bolts and pan | Socket set, wrench | Use cross pattern when loosening bolts | 30-45 minutes |
| Clean surfaces and apply sealant | Shop cloth, silicone sealant | Ensure complete cleanliness for a proper seal | 20-30 minutes |
| Install new oil pan and tighten bolts | Socket set, wrench, torque wrench | Tighten bolts to manufacturer specs | 30-45 minutes |
| Refill oil and check for leaks | Oil, dipstick | Monitor levels and inspect for seeping oil | 15-20 minutes |
What are the signs of a failing oil pan?
Look for oil puddles under your parked car, burning oil smells, or smoke which all indicate possible oil pan damage. Check for engine oil level drops as well.
Can I reuse the old oil pan drain plug?
Sometimes the old drain plug can be reused if it is undamaged, but a new plug is recommended to avoid leaks.
How often should I replace the oil pan gasket?
Oil pan gaskets should be inspected during every oil pan service and replaced if any signs of wear or leaks appear.
Is it necessary to replace the oil filter when changing the oil pan?
Yes, it is strongly recommended to replace the oil filter to ensure proper engine lubrication and extend engine life.
How much does oil pan replacement typically cost?
DIY costs mainly involve parts like a new oil pan, gasket, and oil filter, averaging $100-$300, but professional labor can increase costs considerably.