The Exhaust Gas Recirculation (EGR) valve is a crucial component in modern vehicles designed to reduce nitrogen oxide emissions and improve engine efficiency. Over time, wear and carbon buildup can cause the valve to malfunction, leading to performance issues and increased emissions. This guide presents a thorough approach to diagnosing, inspecting, and replacing a faulty EGR valve, crafted for both novice DIY enthusiasts and experienced mechanics aiming to optimize their vehicle maintenance routine.
Key Takeaways:
- The EGR valve helps control engine emissions by recirculating exhaust gases back into combustion chambers.
- Symptoms of a failing EGR valve include engine knocking, hesitation on acceleration, stalling, and disruption in timing.
- Replacing an EGR valve typically requires basic tools: socket set, screwdrivers, spanners, carburetor cleaner, and a putty knife.
- Proper inspection can determine if cleaning the valve suffices or if complete replacement is necessary.
- After replacement, testing for leaks and performance improvements is essential to confirm the repair success.
Understanding the Role of the EGR Valve in Engine Emissions and Performance
The EGR valve plays a vital role in managing engine emissions by rerouting a portion of exhaust gases back into the intake manifold. This process lowers combustion temperatures, significantly reducing nitrogen oxide (NOx) formation—a primary pollutant regulated by emission standards worldwide. Vehicles equipped with efficient EGR valves often comply better with environmental regulations while maintaining smoother engine performance.
When functioning optimally, the valve opens and closes at precise moments to balance emissions control and combustion efficiency. However, carbon deposits can cause the valve to stick open or closed. For instance, a valve stuck in the open position means too much exhaust gas enters the engine, resulting in rough idling and reduced power. Alternatively, a valve stuck closed will fail to recirculate gases, leading to overheating and increased nitrogen oxide emissions.
Detecting problems with an EGR valve early on can prevent more severe consequences like damaged cylinder heads or costly engine repairs. Symptoms such as rough idling, hesitation on acceleration, unexplained stalling, and engine knocking are key indicators that something is wrong. Diagnosing these issues promptly aligns with recommended car check engine causes professionals discuss.
It’s important to grasp that the EGR valve doesn’t work in isolation. It interplays with other components like the intake manifold and exhaust system. A clogged air filter or malfunctioning fuel system can exacerbate valve issues or mask their symptoms. In the broader frame of vehicle maintenance, the EGR valve is a piece of a complex puzzle ensuring your vehicle runs cleanly and efficiently.
Understanding these fundamentals will help you recognize when to investigate and potentially replace your EGR valve without unnecessary delays or expenses.
Recognizing Symptoms of a Faulty EGR Valve and Initial Diagnostics
Identifying a defective EGR valve early saves money and improves your vehicle’s roadworthiness. Here are the most common symptoms signaling EGR valve issues:
- Engine knocking and pinging: When the valve fails to recirculate gases properly, combustion temperatures rise, causing premature detonation.
- Acceleration hesitation: The car might hesitate or stumble when you press the accelerator due to erratic air-fuel mixture.
- Rough idle or stalling: An improperly functioning valve can disrupt engine timing, leading to unstable idling or sudden stalling.
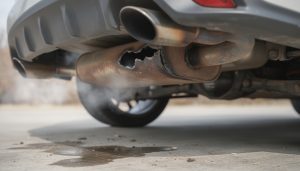
- Increased emissions test failure: Elevated NOx levels during emission checks may point towards EGR malfunction.
- Check Engine Light: Modern vehicles often detect EGR faults via diagnostic trouble codes visible through OBD-II readers.
Before jumping to replacement, you can perform simple checks:
- Visual Inspection: Look for carbon buildup, cracks, or damage around the valve and connected tubes.
- Functional Test: With the engine cold, manually move the valve or actuate it using vacuum pressure (for vacuum-operated valves) to see if it opens smoothly.
- Scan for trouble codes: Use an OBD-II scanner to pinpoint EGR-related errors. Codes like P0401 or P0402 typically signal issues with flow or blockage.
If these tests confirm abnormalities, the valve will likely need cleaning or replacement. Neglecting these symptoms can escalate repair costs, possibly affecting related parts such as the intake manifold or oxygen sensors.
💡 Expert Tip: Test your EGR valve when the engine is cold to avoid burns and get accurate mechanical feedback on valve movement.

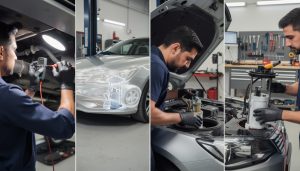
Step-by-Step Instructions to Replace Your Vehicle’s EGR Valve Safely
Replacing an EGR valve is a straightforward task with the right tools and methodology, often feasible for those comfortable with DIY auto repair. Here’s a detailed blueprint to guide you through the replacement:
Required Tools and Safety Precautions
Gather the necessary tools to avoid interruptions mid-job:
- Socket set (metric/imperial as per vehicle)
- Phillips screwdriver
- Adjustable spanner or wrench
- Carburetor cleaner
- Putty knife or scraper
- Small drill bit for sediment removal
- Protective gloves and eye protection
Safety first: park the car on flat ground, engage the parking brake, and disconnect the battery to prevent electrical hazards.
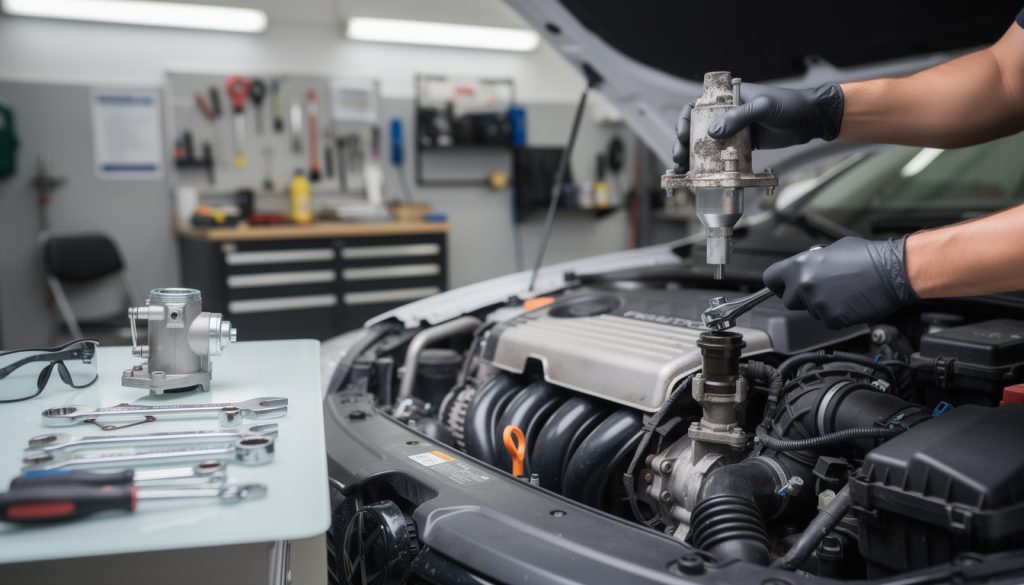
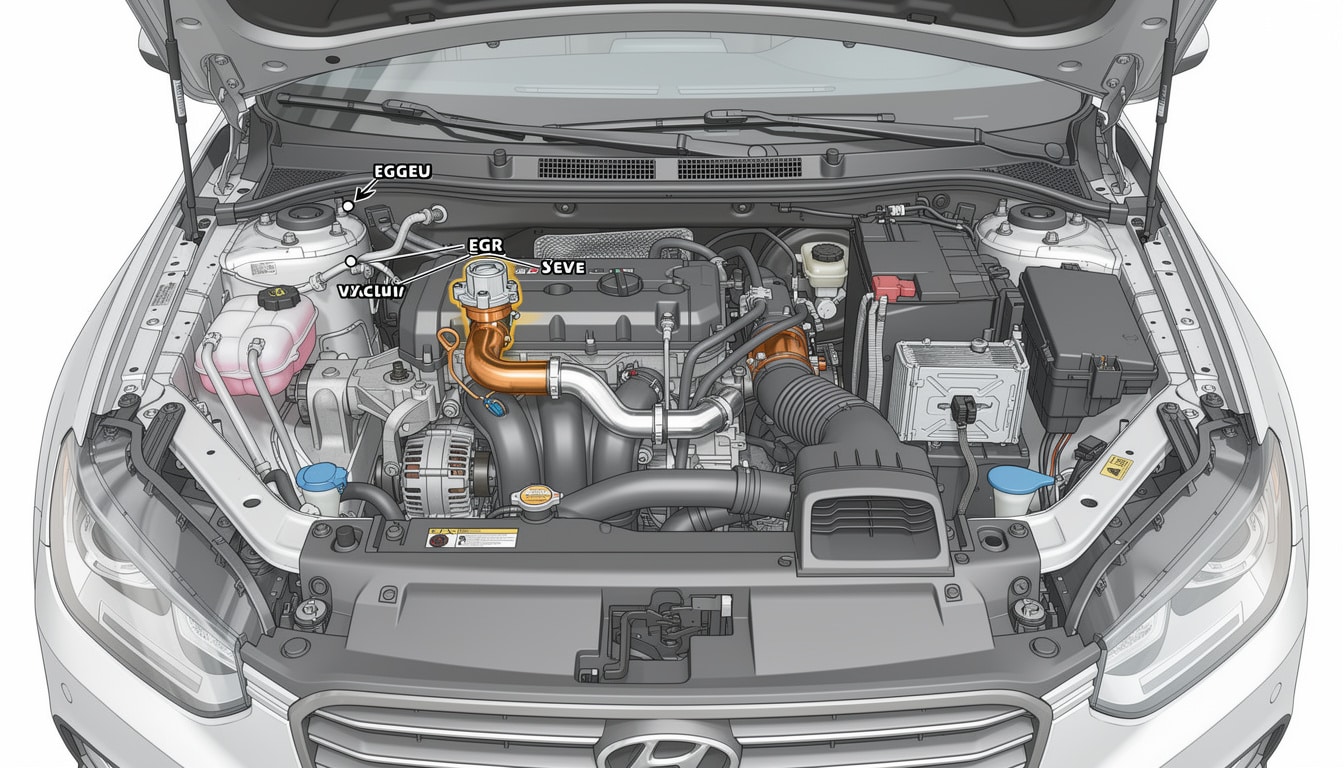
Locating and Removing the EGR Valve
Open the bonnet and locate the EGR valve. Most vehicles label this part explicitly, sometimes as EGR Solenoid. If unknown, consulting the owner’s manual or factory repair guides is crucial. The valve usually sits near the intake manifold, linked to the exhaust manifold via tubing.
Remove the retaining bolts carefully. These are often tightly fixed and may need a penetrating lubricant to loosen. Avoid applying excessive force to prevent breaking bolts, which complicates removal significantly.
After bolting removal, disconnect the EGR tube with the spanner, letting it hang without stress on its connections to the engine.
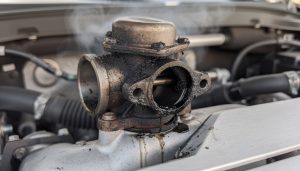
Inspecting the Valve Before Replacement
Examine the valve body for any physical damage such as holes or deep corrosion. If present, replacement is mandatory. If only carbon buildup is visible, you may attempt thorough cleaning with carburetor cleaner and gently scrape carbon deposits using a putty knife. Use a small drill bit to remove stubborn sediment blocking valve passages.
Installing the New EGR Valve
Before installation, compare the old and new valves to ensure compatibility. Typically, new valves include a sealing gasket to prevent exhaust gas leaks. Install the gasket properly, reattach the EGR tube, and systematically bolt the valve back onto the engine, following recommended torque specifications from your vehicle’s manual if available.
Reconnect the battery and start the engine to verify proper operation. Listen for unusual noises and inspect visually for leaks around the installation site. A smooth idle and improved throttle response after a short test drive indicate a successful replacement.
If problems persist, further engine diagnostics may be necessary to rule out other faults, such as those affecting the cylinder head or fuel system. You can find detailed signs related to cylinder head issues on this dedicated page.
Cost Considerations and What to Expect in Professional Repairs
Replacing an EGR valve yourself reduces labor costs significantly, but understanding the general financial landscape helps plan repairs effectively. In 2026, typical replacement costs at dealerships or professional shops range between $150 and $500, depending on vehicle make and model. Luxury or specialty cars may incur higher prices due to parts costs and complexity.
If you opt for professional service, labor usually accounts for 50-70% of the total bill. The mechanical parts involved include the valve itself, gasket seals, and often cleaning chemicals if maintenance rather than replacement is chosen.
| Cost Element | DIY Estimate | Professional Service |
|---|---|---|
| EGR Valve Replacement Part | $50 to $150 | $80 to $250 |
| Labor | Free (self-labor) | $100 to $250 |
| Additional Cleaning Materials | $10 to $20 | Included |
| Total Estimated Cost | $60 to $170 | $180 to $500 |
Note that repeated issues with EGR valves could signal underlying engine problems such as vacuum leaks or fuel system faults. Refer to expert resources on fuel tank replacements or emission systems to deepen understanding.
💡 Expert Tip: Always test drive immediately after replacement to confirm the valve fixes the issue before concluding the repair.

Maintaining Your EGR Valve and Related Engine Components for Longevity
Preventative care is your best defense against premature EGR valve failure. Regularly scheduled vehicle maintenance that includes inspection of the EGR valve and related parts can prolong engine life and boost fuel efficiency. Following these tips will keep your emission control system in top shape:
- Replace the air filter every 15,000 to 30,000 miles to avoid excess contaminants entering combustion chambers.
- Use quality fuel to reduce carbon buildup.
- Perform EGR valve cleaning during regular tune-ups if noticeable deposits develop but the valve remains operational.
- Inspect and maintain other emission-related parts, such as the catalytic converter and oxygen sensors.
- Run diagnostics for emission-related error codes using an OBD-II scanner to catch early faults.
Regularly checking and servicing the EGR valve helps prevent costly issues like exhaust leaks, overheating, and engine knocking, ensuring smoother operation and fewer trips to mechanics. Ignoring maintenance can lead to degraded engine performance and elevated emissions, negatively affecting vehicle inspections.
For drivers with known issues like those common in specific models (for example, some Honda Accord common issues), staying vigilant on EGR valve health can prevent cascading mechanical failures.
Embracing these maintenance habits not only complies with stringent environmental laws but also supports your vehicle’s reliability in daily operation.
How often should I replace my EGR valve?
EGR valves typically last between 50,000 to 100,000 miles but should be inspected regularly and replaced at the first sign of malfunction to avoid engine damage.
Can I clean the EGR valve instead of replacing it?
Yes, minor carbon buildup can often be cleaned with carburetor cleaner and gentle scraping, but persistent valve sticking or damage requires replacement.
What risks do a faulty EGR valve pose to my vehicle?
A malfunctioning EGR valve can cause poor fuel economy, increased emissions, engine knocking, and in severe cases, engine stalling or damage to the cylinder head.
Is EGR valve replacement a difficult job for a novice?
Replacing an EGR valve is relatively straightforward for someone comfortable with basic tools and following mechanic instructions, with detailed guides available to assist.
How will I know if the new EGR valve is working properly after installation?
After replacement, a smooth idle, no exhaust leaks, improved throttle responsiveness, and absence of engine codes or warning lights indicate successful installation.