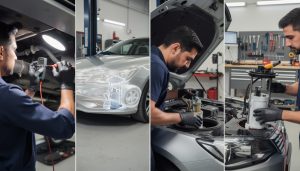
Replacing a car door may seem like a daunting task, but for many vehicle owners, it’s a crucial part of maintaining their car’s appearance and functionality. Whether due to rust damage, an accident, or persistent dents, knowing how to perform a car door replacement is an essential skill in DIY car maintenance. Not only can it save you money, but it also gives you control over the quality of the repair and parts used. From removal to installation, this comprehensive breakdown will walk you through the process in a clear, methodical way, ensuring you can tackle this automotive project with confidence.
In this detailed step-by-step guide from the breakerlink blog, I will explain the necessary tools, techniques, and precautions for replacing a vehicle door effectively. Many common makes and models have parts readily available, making this task accessible without specialized certifications. The key is to double-check compatibility of replacement doors, handle wiring carefully, and install the new door ensuring proper alignment and secure fixing.
Mastering the removal and installation of a car door also enhances your understanding of automotive assembly, which carries over to other auto repair tasks such as door panel replacement and car body repair. This tutorial aims to empower drivers and enthusiasts alike, striking a balance between technical precision and practical accessibility.
Below, I organize the content into logical sections, each rich with technical detail and actionable advice. Let’s move forward to explore what tools you need and how to prepare your workspace before diving into this essential automotive tutorial.
Key Takeaways:
- Replacing a car door may be necessary after an accident, rust damage, or structural issues that affect the safety and appearance of the vehicle.
- The replacement process involves removing the interior panel, disconnecting wiring and hinges, and carefully installing the new door.
- Costs can vary depending on the vehicle model, labor fees, and whether the door is new or used.
- Proper alignment and sealing are essential to ensure the door closes correctly and prevents water or wind noise.
- In some cases, replacing a car door can be a cost-effective repair that restores both the functionality and the value of the vehicle.
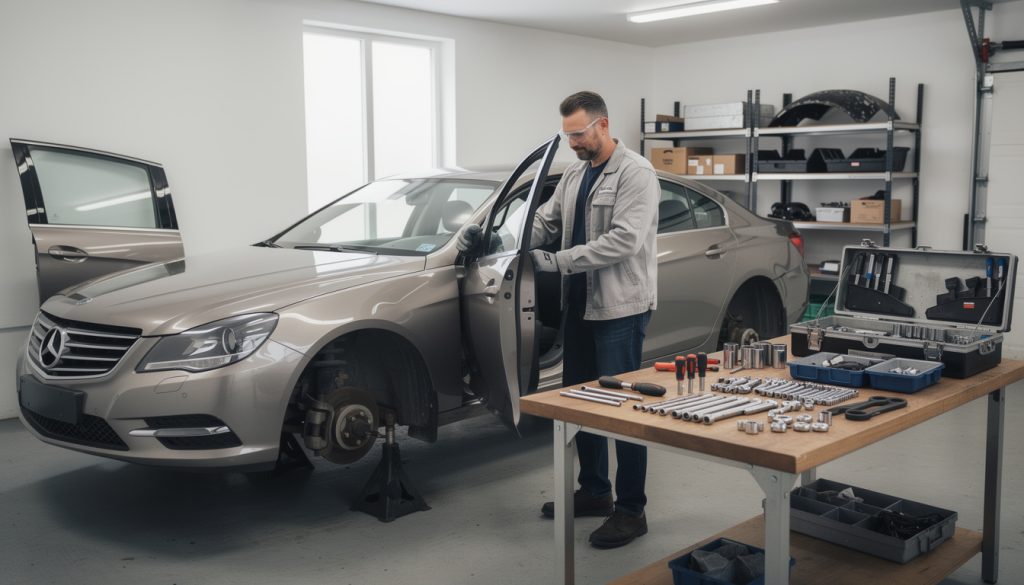
Preparing for Car Door Replacement: Essential Tools and Initial Checks
Before you begin the vehicle door removal process, it’s critical to have the right tools and to verify the suitability of your replacement door. This preparation phase often determines the overall smoothness of the repair.
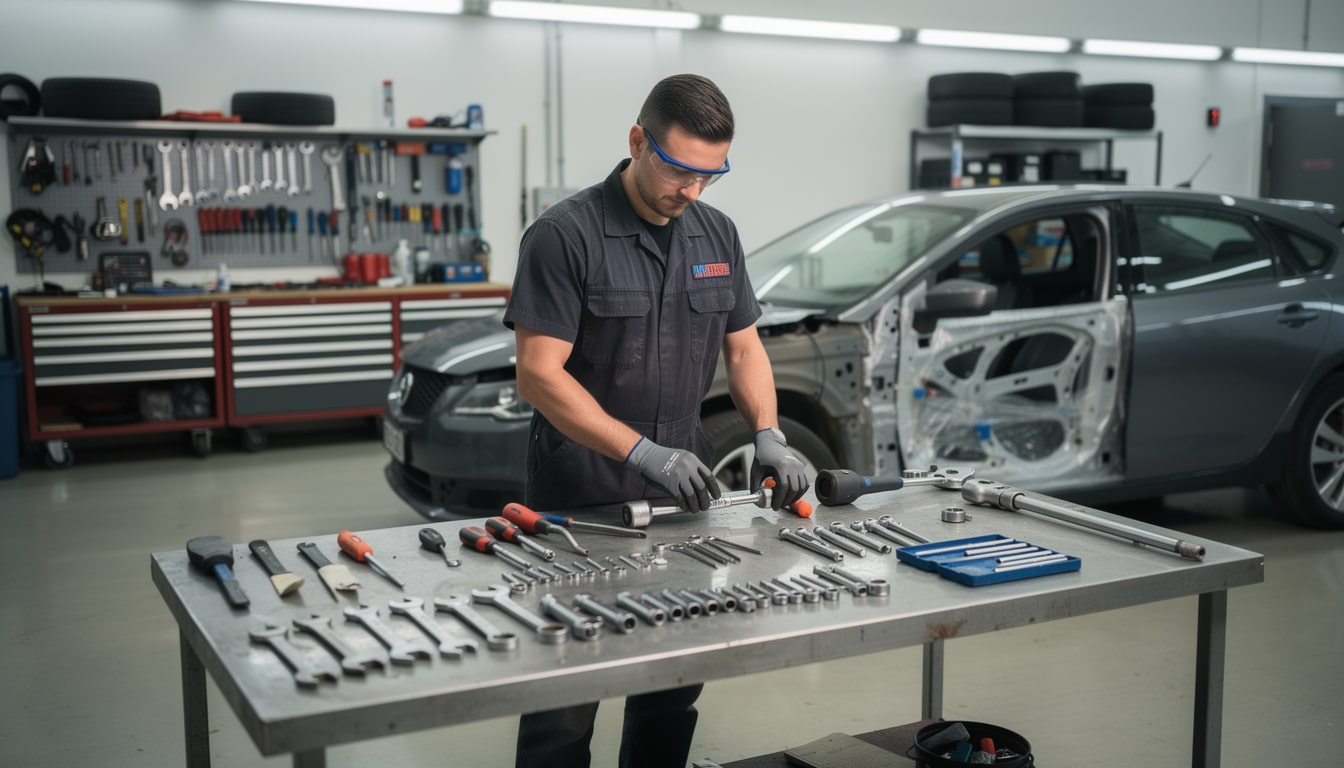
The basic toolset needed for a car door replacement includes a spanner set, a socket set, and thread locking fluid. These tools will allow you to unbolt the door hinges, handle bolts securely, and prevent future loosening due to vibrations during driving.
Check the Replacement Part
It’s not uncommon to mistakenly purchase a door part that looks similar but doesn’t fit your exact model. Ensuring the door matches in size, shape, and mounting points is a crucial step. Relations between models may seem close, but slight variations can make your job impossible without the right fit.
For example, some BMW models have nuances in their door hinge placements and electrical harness connectors. Being aware of these distinctions saves both time and frustration. I recommend physically comparing your old door with the new one at the garage or supplier before starting work. Photographs and detailed specs can help if you bought the part online.
Once your doors and tools are ready, park the car on stable, flat ground and fully engage the handbrake. These safety measures are essential to avoid accidents while you work on the vehicle’s exposed operating components.
💡 Expert Tip: Keep a magnetic tray nearby to collect bolts and avoid misplacing them during door removal. Organization increases efficiency and reduces the risk of losing small but critical pieces.
Detailed Steps for Removing the Old Car Door Safely
With tools ready and the workspace prepped, the next phase covers the vehicle door removal step itself, including handling wiring and mechanical fittings.
Disconnect the Vehicular Wiring
Modern car doors often have integrated wiring harnesses for power windows, locks, and side mirrors. These wiring components are typically bundled inside a protective rubber tube to prevent corrosion and water damage.
Gently pull the rubber tube from its seating to expose the electrical connector underneath. Separate the connector halves carefully to avoid bending pins or damaging wires. Electrical caution here ensures your new door’s electronics operate correctly after installation.
Unscrew the Door Holder
The door holder, a plastic or metal linkage that prevents the door from swinging freely, should be removed next. It is sometimes easy to overlook this component, but failing to detach it can cause damage or hinder door removal.
Unbolt the Hinges
Removing the hinge bolts is the most physically demanding part of this step. It’s advisable to have an assistant hold the door steady as you undo the bolts to prevent the door from dropping abruptly. Once unbolted, you can lift the door away from the vehicle frame.
Taking your time here preserves hinge integrity and minimizes the risk of dropping or damaging the door or vehicle frame. Avoid using power tools aggressively since overtightening or rapid loosening can damage bolt threads.
Once the door is fully detached, place it carefully on a protective surface to avoid scratches or deformation. This stage completes the old door removal but leads directly into preparing for your new door installation.
How to Install a New Car Door Properly: Alignment and Wiring Connection
Installing your new door may seem like repeating the removal steps in reverse, but it demands precision to ensure the door aligns perfectly for optimal function and appearance.
Align the New Door Correctly
Begin by carefully positioning the new door near the car’s hinge area. Align all bolt holes visually before inserting any bolts. You can start threading bolts using your fingers — this reduces cross-threading risks and ensures easier adjustment during final tightening.
Where possible, tighten bolts snugly but leave some vertical and horizontal movement to fine-tune the door’s fitment. This is critical to avoid misaligned gaps or door sagging after tightening.
Reattach the Door Holder
Once the door’s mechanical mounting is underway, reinstall the door holder to maintain controlled motion. This helps keep the door steady and prevents it from swinging loosely or closing unexpectedly.
Reconnect All Wiring Harnesses
Slide the protective rubber tube back over the wiring and reconnect the electrical plugs. Ensure the connectors click securely in place, restoring all systems such as power windows, mirrors, and locks.
Switching the ignition on at this point will serve as a test to check that all electronic components are functional. If you encounter issues, re-examine the connector pins for proper seating and check for any pin damage.
Secure Bolts with Thread Locking Fluid
The final mechanical step is applying a dab of thread locking fluid to all hinge bolts. This prevents loosening caused by vehicle vibrations over time, ensuring the door remains firmly attached and safe.
💡 Expert Tip: If your car struggles with door alignment issues, check hinge wear or bent frames; an ill-fitting door beyond basic installation may require professional realignment.

Common Challenges During Door Replacement and How to Overcome Them
Understanding potential difficulties ahead of time will save you from frustration and failed repairs. Below are some troubleshooting tips from my years of experience in auto repair.
- Wiring Difficulties: Door electrical connectors sometimes become stuck or corroded. Use dielectric grease sparingly to ease reconnection and improve water resistance.
- Door Alignment Issues: Tighten bolts gradually while adjusting gaps manually to find the perfect fit. Persistent misalignment might point to underlying frame damage needing professional attention.
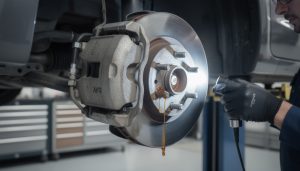
- Rust and Corrosion: Rust can weaken door hinges and mounts. Applying rust converter treatments before installation can prolong hinge life.
- Weight Handling: Car doors are heavy and awkward. Using a door stand or enlisting help prevents injury and damage.
- Compatibility Confusion: Double-check part numbers and vehicle specifications to avoid ordering doors incompatible with features like side airbags or sensor modules.
This handy advice supplements step-by-step mechanics with practical foresight, cutting downtime and mistakes. It’s also useful to know about potential issues with specific models, such as common faults in the Kia Sportage or concerns related to Lexus RX reliability, which can influence parts availability or wiring intricacy.
Advanced Tips for Ensuring Longevity and Optimal Function of Your New Car Door
Beyond the basic installation steps, certain advanced approaches will extend the life and quality of your door.
Sealing and Paint Finish
Check the door seals for integrity and replace if necessary. Well-maintained seals protect the interior from water ingress and reduce wind noise significantly. Likewise, attention to paint finish, especially if you’re installing a door painted separately, impacts corrosion resistance and vehicle aesthetics.
Lubrication of Hinges
After installation, apply lubricants to the hinge pins and latch mechanisms. This prevents squeaks, reduces wear, and smooths door operation.
Regular Functional Tests
Conduct routine tests on power window motors, lock actuators, and mirror adjustment systems. Early detection of electrical or mechanical faults prevents more costly repairs later.
| Maintenance Step | Recommended Frequency | Benefits |
|---|---|---|
| Lubricate Hinges | Every 6 months | Prevents wear, reduces noise, smooth door operation |
| Check Wiring Connections | Annually | Avoids electrical failures, ensures component function |
| Inspect Door Seals | Annually | Prevents water ingress, improves cabin noise levels |
| Apply Rust Protection | Every 2 years | Extends door frame life, preserves vehicle value |
Incorporating these advanced maintenance tips into your routine supports the integrity of your vehicle and the success of your door replacement effort. As always, if you’re ever unsure about a mechanical or electrical procedure, consulting specialists or referring to manufacturer-specific guides is wise.

When you seek to maintain or restore your vehicle effectively, practical knowledge like this ensures you’re not just following instructions but truly understanding the automotive tutorial at hand. This prepares you for related projects such as gearbox changes or more intricate repairs.
How long does it usually take to replace a car door?
Performing a car door replacement typically takes between 2 to 4 hours, depending on your experience, the vehicle model, and the complexity of door electronics connected to the operation.
Can I replace the car door myself without professional help?
Yes, car door replacement is one of the more straightforward DIY car maintenance tasks. Basic mechanical skills and the right tools enable most car owners to successfully complete the job.
What should I check to ensure the replacement door fits correctly?
Verify that the door matches your vehicle’s make, model year, and trim level. Pay attention to hinge placement, electronic wiring connectors, and door dimensions to avoid misfit issues.
Is it necessary to use thread locking fluid on the bolts?
Applying thread locking fluid is highly recommended to keep hinge bolts secure under vibration stresses. It significantly reduces the risk of bolts loosening over time.
What common problems can occur after replacing a car door?
Typical issues include misaligned doors causing poor sealing, electrical malfunctions in power windows or locks, and door sagging due to loose hinges. Correct installation and adjustment reduce these risks.